

Historic blog post from June 2014…
I wanted to learn how to tile a little so when our village handyman, Rob, agreed to do our bathroom, in a bit of a half DIY by us but to support us on the more technical stuff way (yes he is as awesome as he sounds!) I asked him if he could show me how to just do the splash-back behind the sink. At this point in time I was also planning to save the old (what I thought was original) 1950s metal bath by getting someone in to re-enamel it, but was discussing my worries with him as the cheapest quote I had managed to source was £280! The other factor with the bath was that I was worried that a modern one would look out-of-place in a 1950s house and deco theme where I am trying to get everything looking as authentic but still with a modern twist as possible. So he says to me, firstly “there is no point in saving a bath like that, it’s completely not cost-effective, as you can get a new nice one + glass screen for under £250 anyway and if you like I will teach you how to tile and then won’t charge you which will make back that money anyway” – Always up for a challenge and a bargain I agreed and that’s how it began.
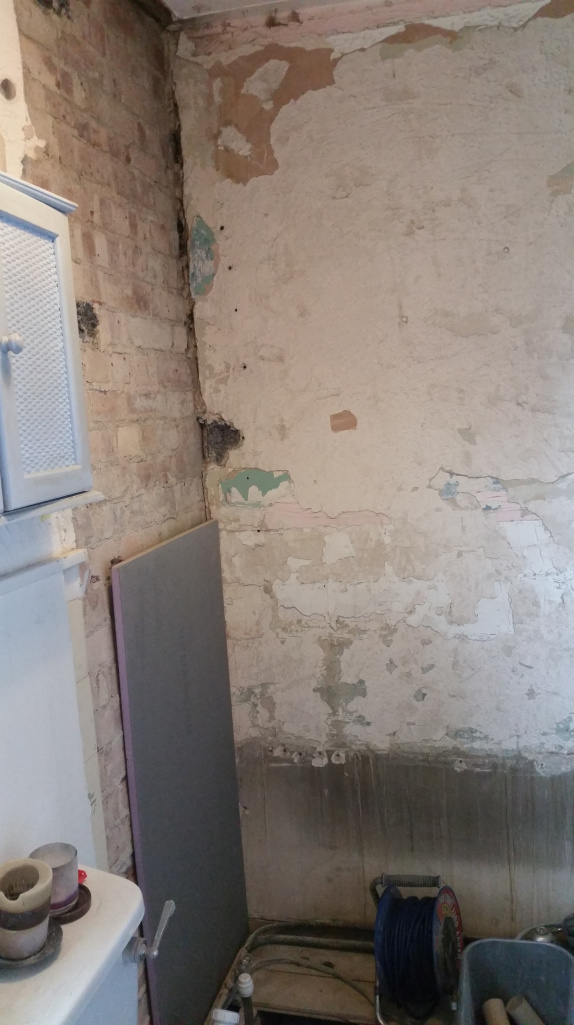
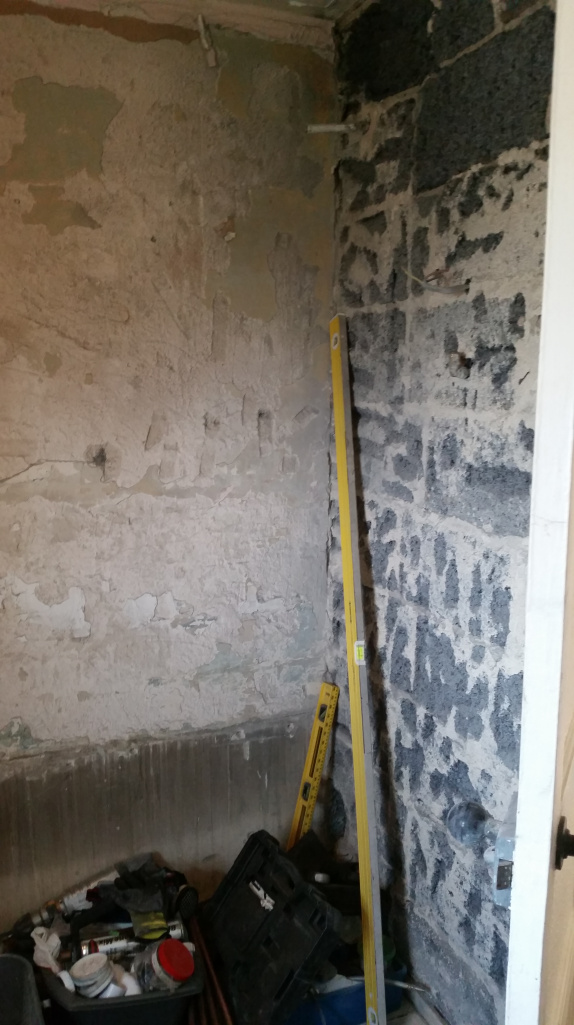
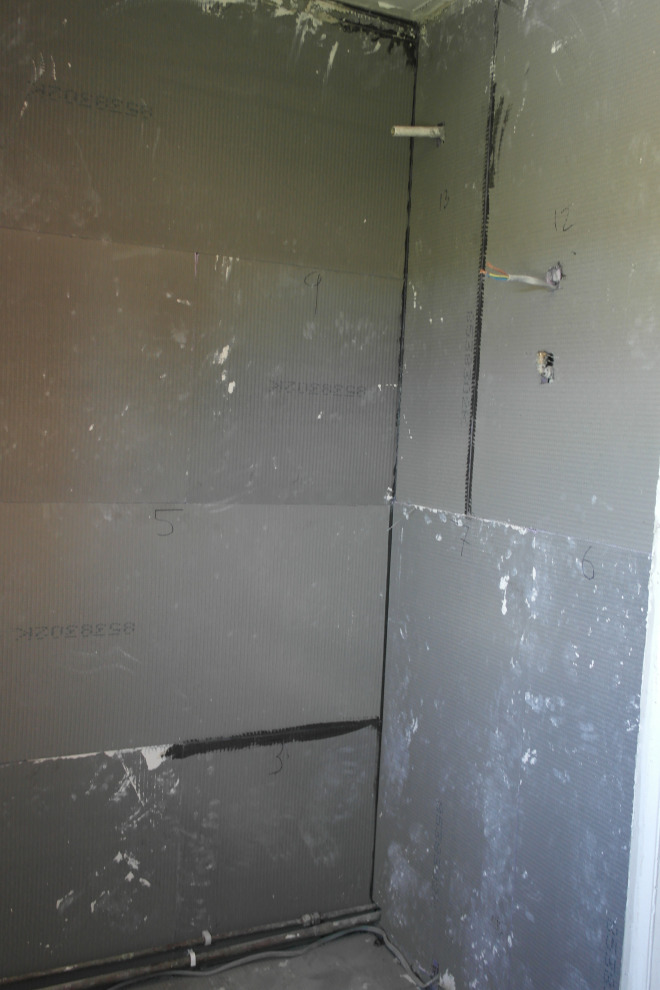
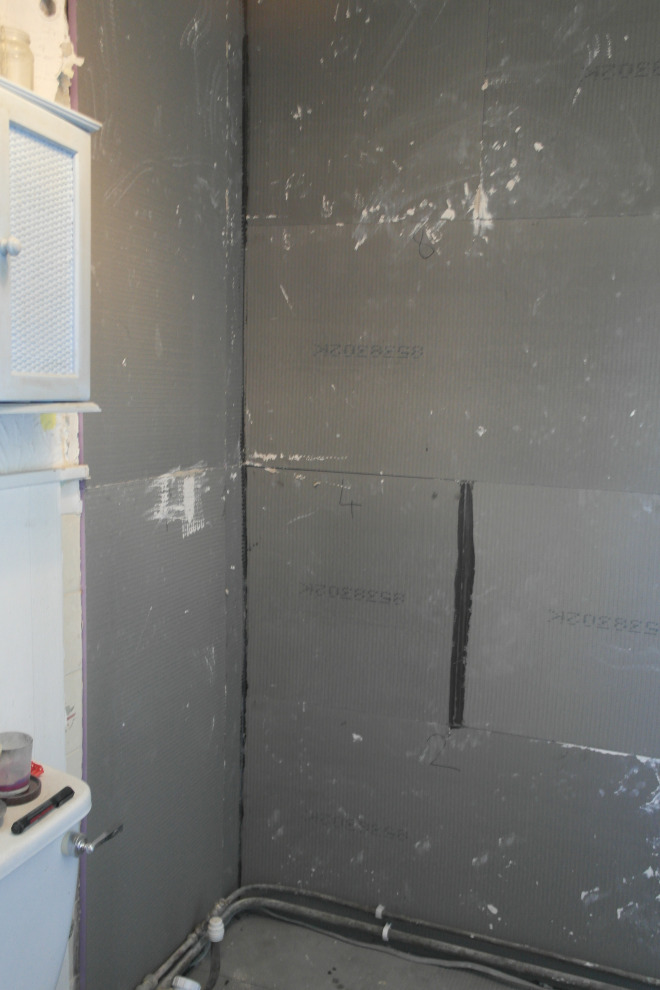
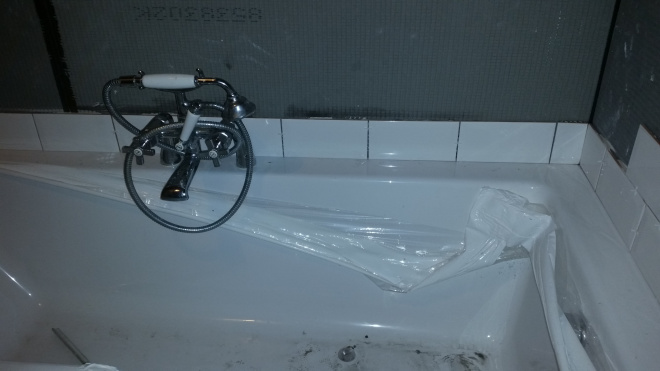
First Rob had to clear all the old tiles and then the broken and rotten plaster and then use the concrete board which I had got to seal the area off ready to fit the new bath:
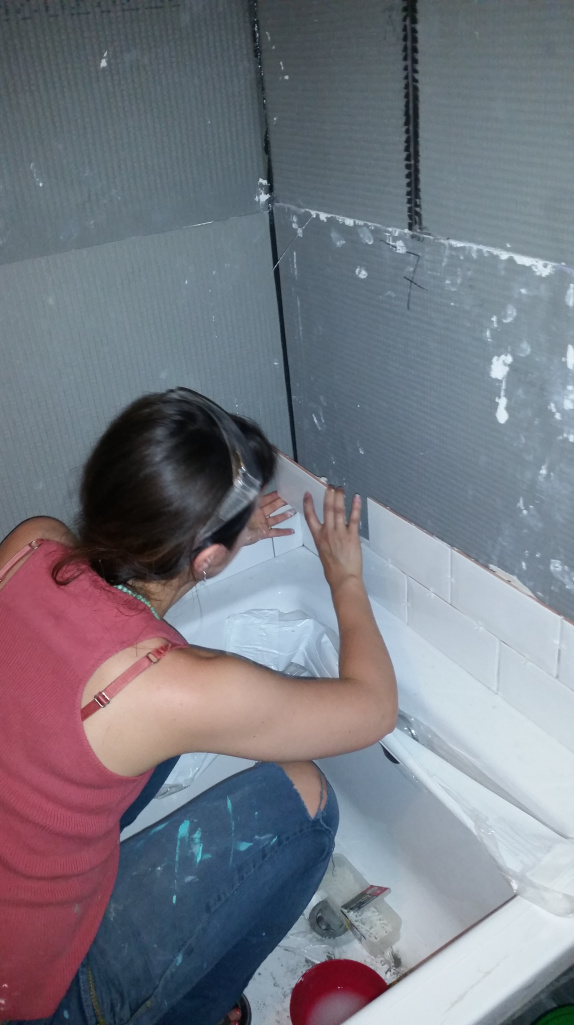
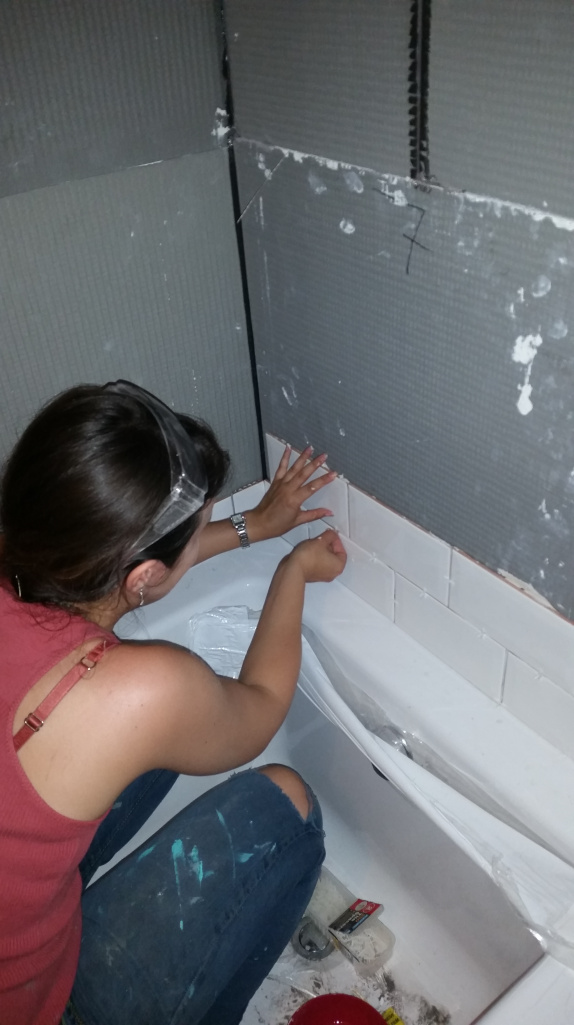
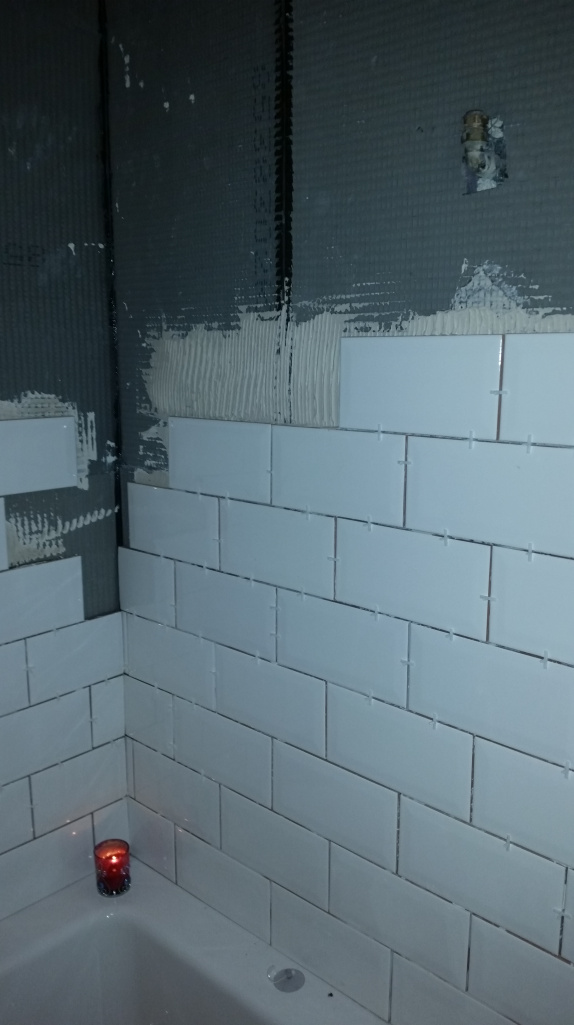
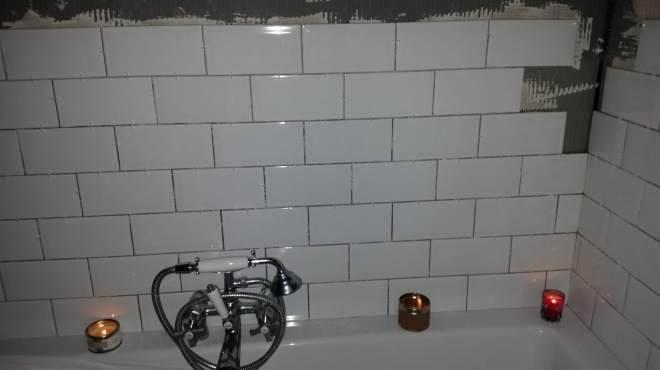
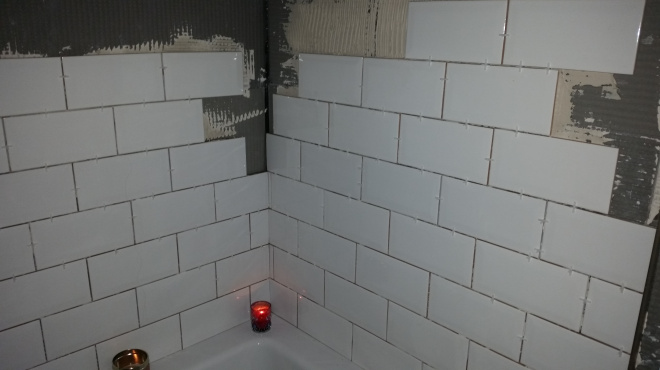
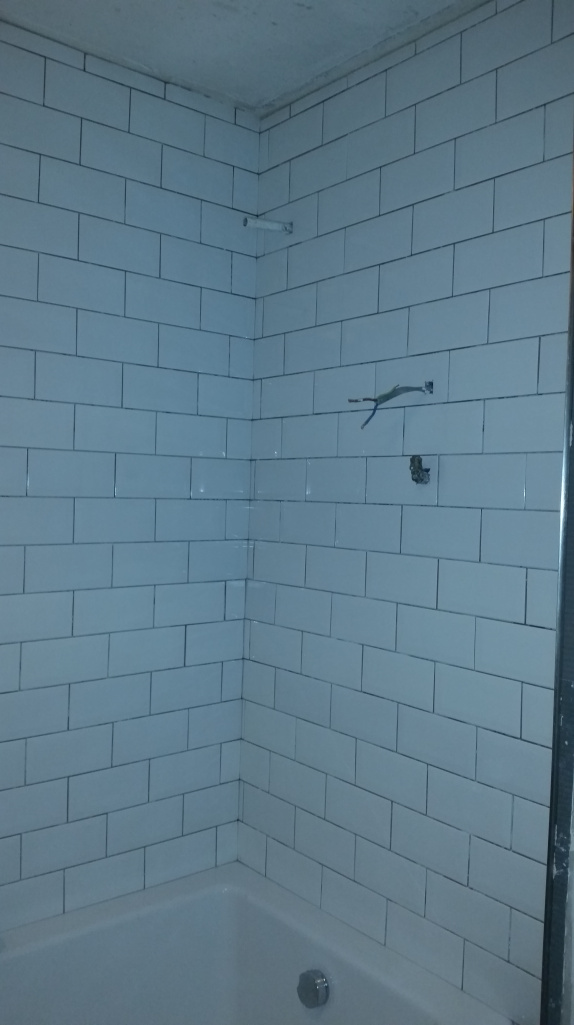
Then he taught me how to tile and got me set up with my first row. He said that we shouldn’t end up with whole tiles at either end as that will not look natural. For the tricky ones, and when I first started he advised that I literally took it a tile at a time and put the, pre-mixed, adhesive on a tile at a time and then put it on the wall and then the next. As I got more confident I put the adhesive on the wall and laid a whole line of tiles at a time, but I would recommend you work up to that as I did and have a jar or pot of spacers at the ready to pop straight in as you do. Here are the photos from this part of the process….
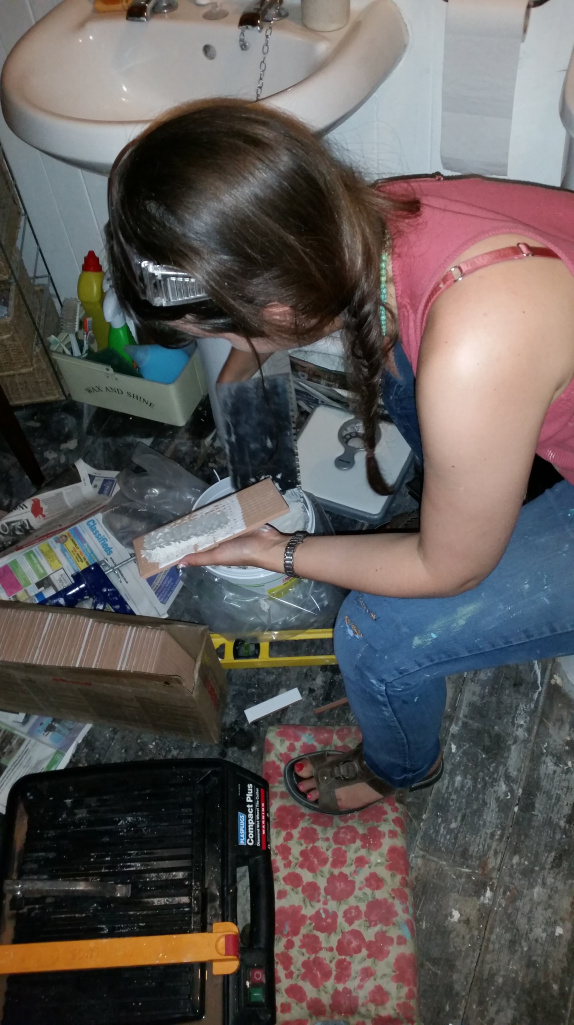
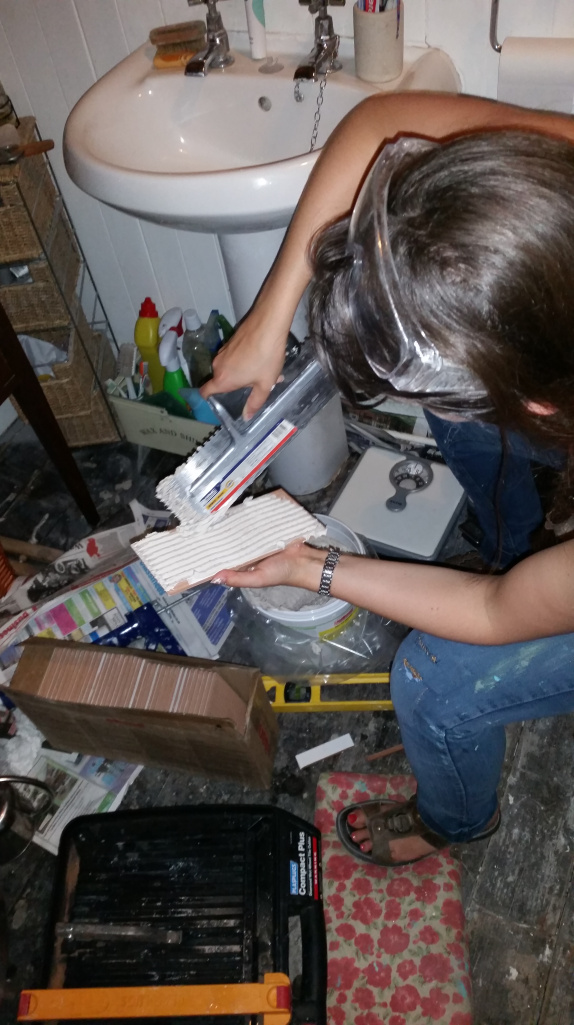
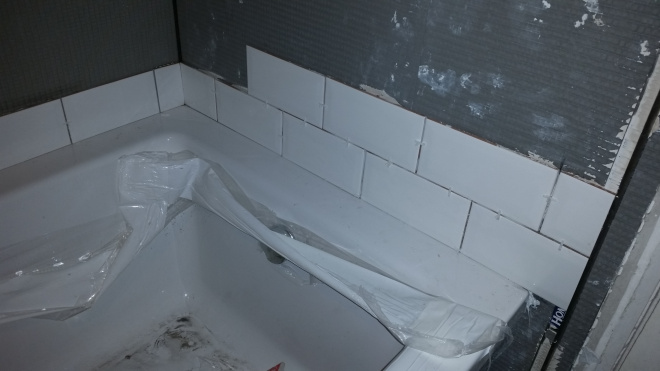


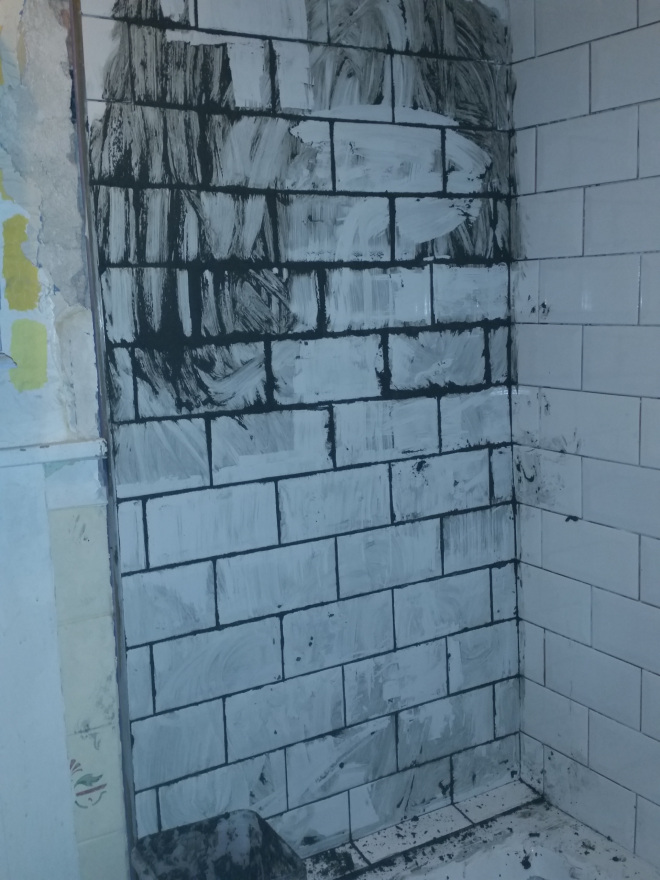
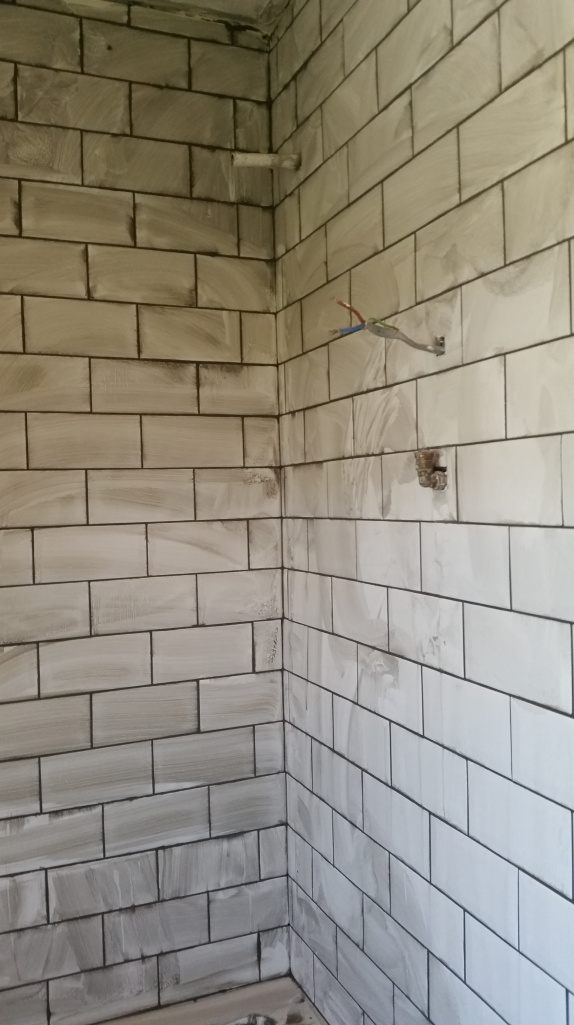
Then came the grouting, which I have discovered, success is a lot to do with getting the consistency of the grout correct, it needs to be surprisingly loose when you put it on the wall, so it can be wiped off the tiles with ease. I didn’t know this when I tried it myself for the first time so made a bit of a mess of it and then it dried like concrete to the tiles on the bit I did and I couldn’t get the darn stuff off without a battle. Then Rob came round to save the day and we did a joint effort of him grouting and me wiping down and then Adam (hubby) helped me do the tidying up after. Here are some picks of this bit…


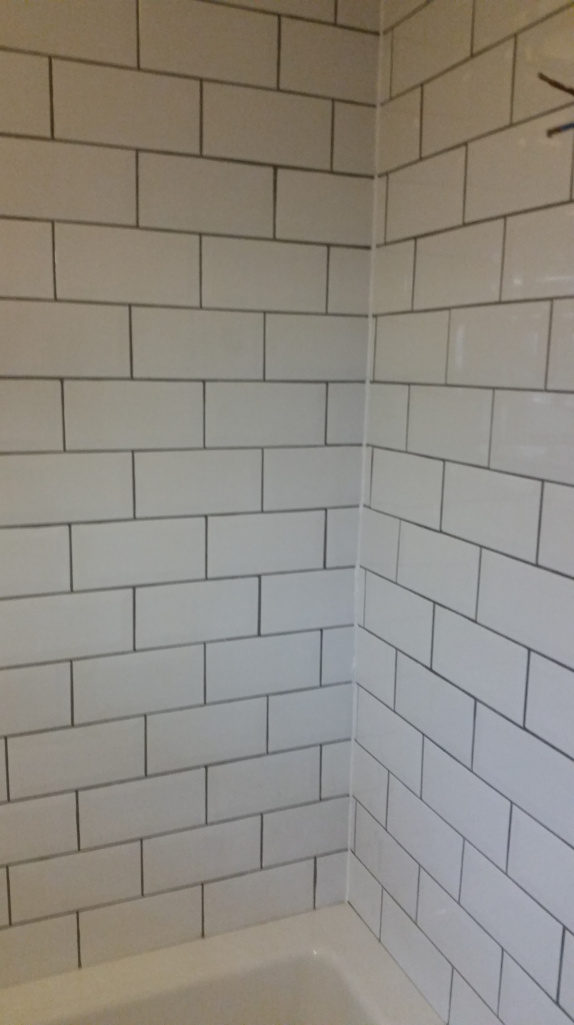
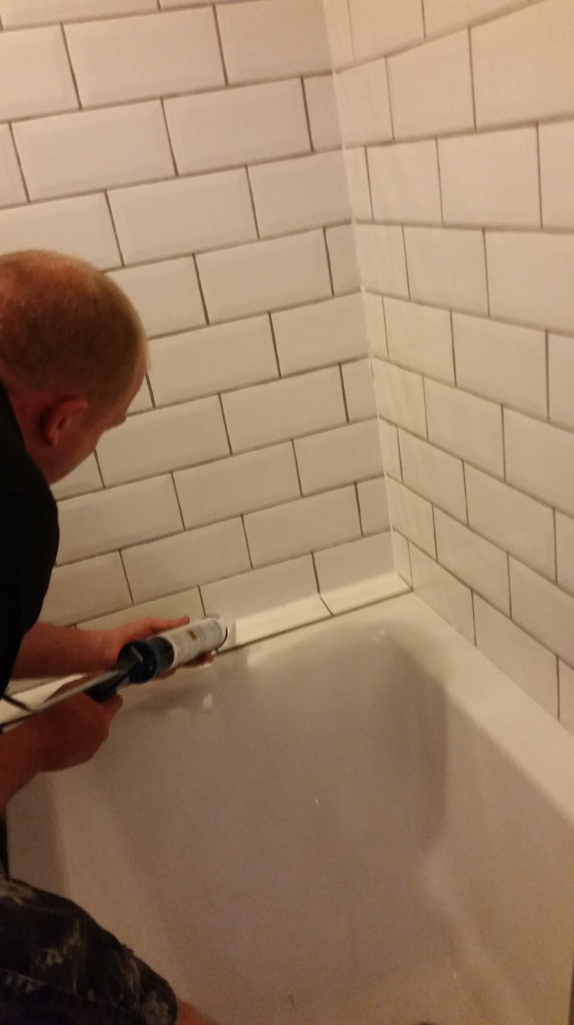
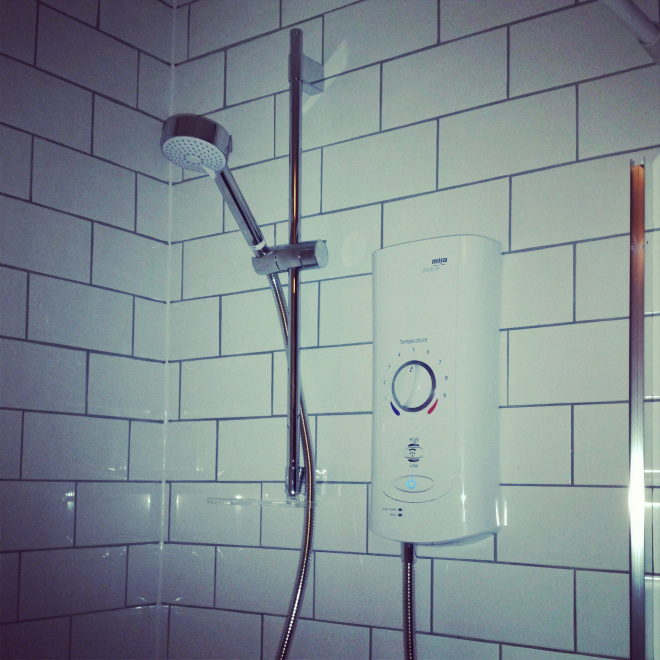
Then sealant + re-fitting the shower, which somehow broke between taking it off the wall and putting it back, but Rob managed to fix it with some second hand parts :), along with replacing the old plastic shower head with a chrome one to match the other chrome fittings, like the taps and the edging for the tiles…

And finally after a bit of back and forth with Bathrooms.com and 3 separate deliveries we have the complete shower screen we ordered and have fitted it today to finish off the bath area. It’s been a long couple of months but I am so so happy with the result and thought we need to save again before continuing with the bathroom makeover I really feel we have made a genuine and valid start which will really make a difference to our day-to-day whilst we save up for the next bit 🙂