

The lovely thing about upcycling is that you can customise it. I love the deep teal/turquoise in this image and equally its contrast with the white on the outside, the idea makes your cupboard unique and bespoke. I love that and went on to use the concept when upcycling the wall cabinets which we inherited from my Mum’s cousin.
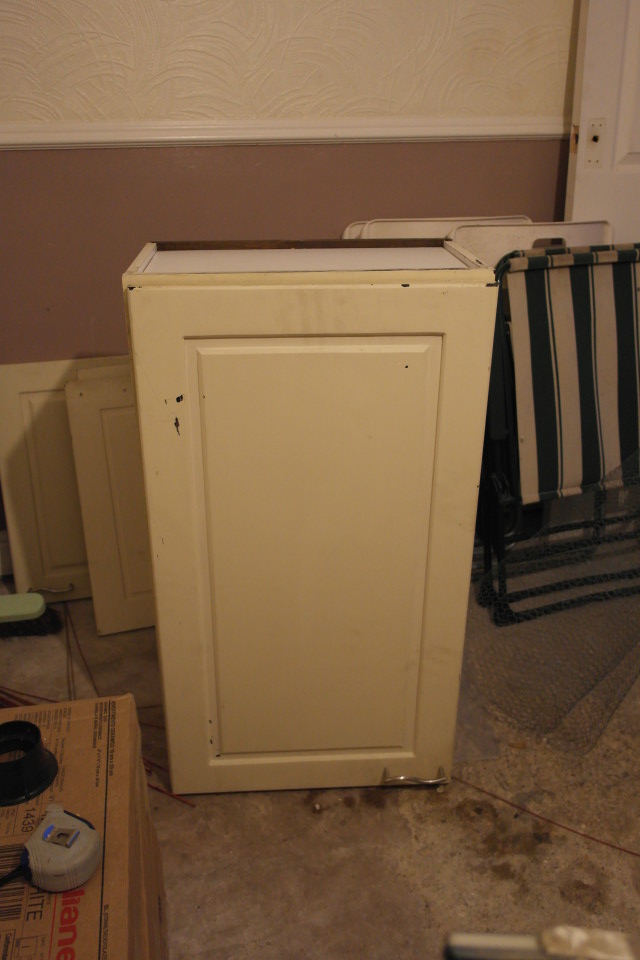
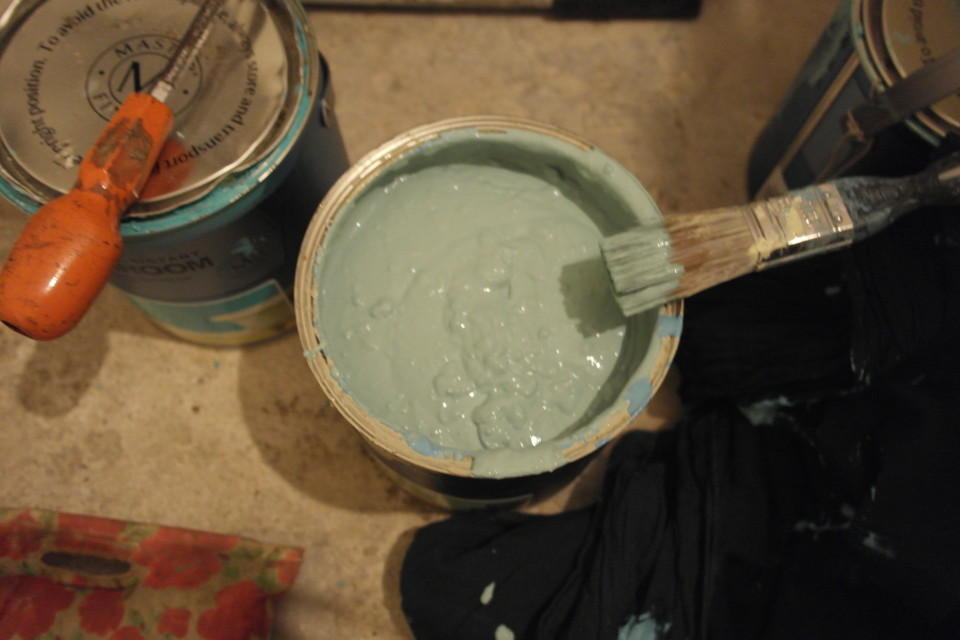
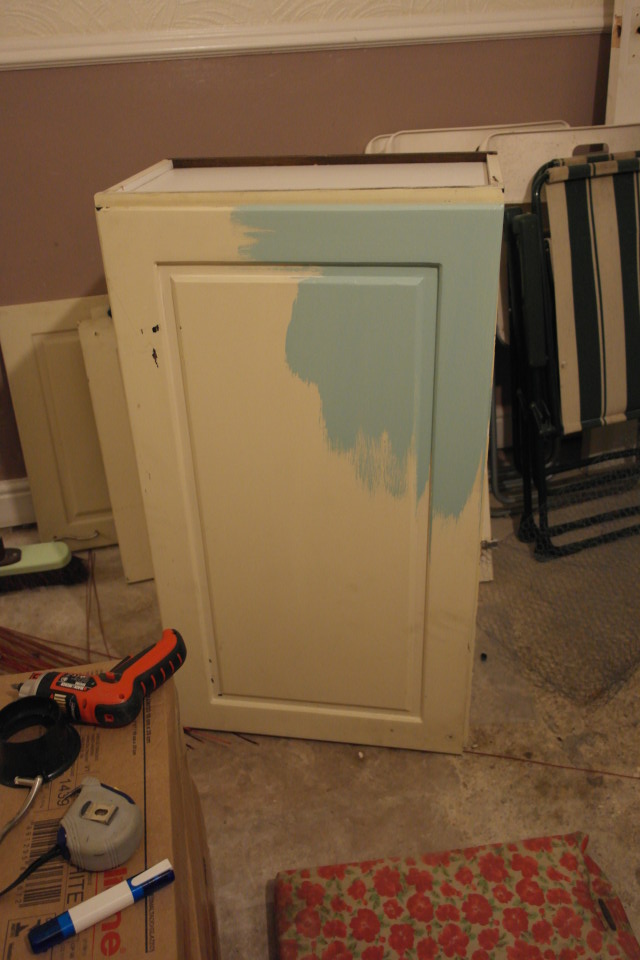
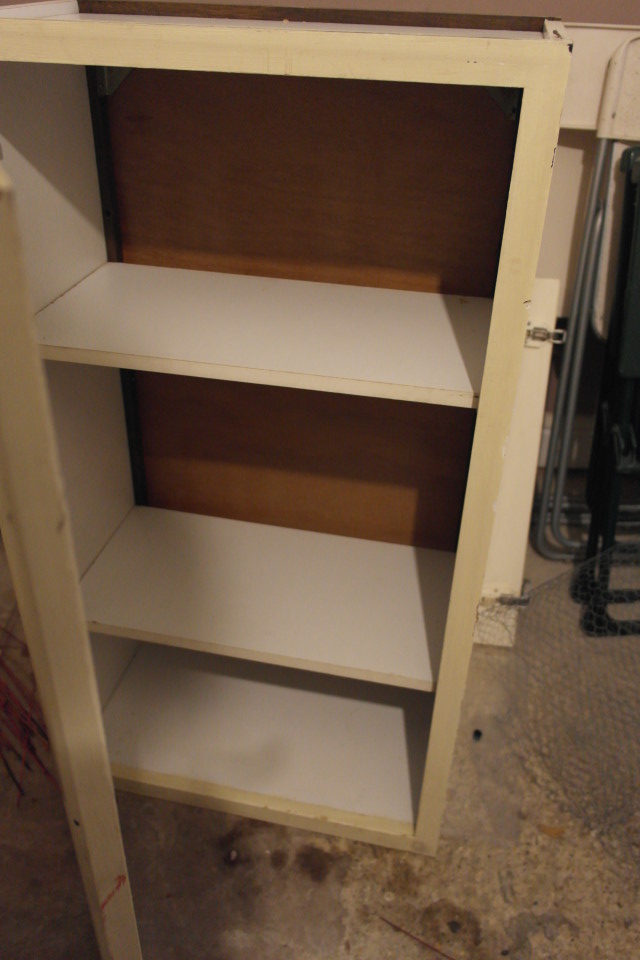
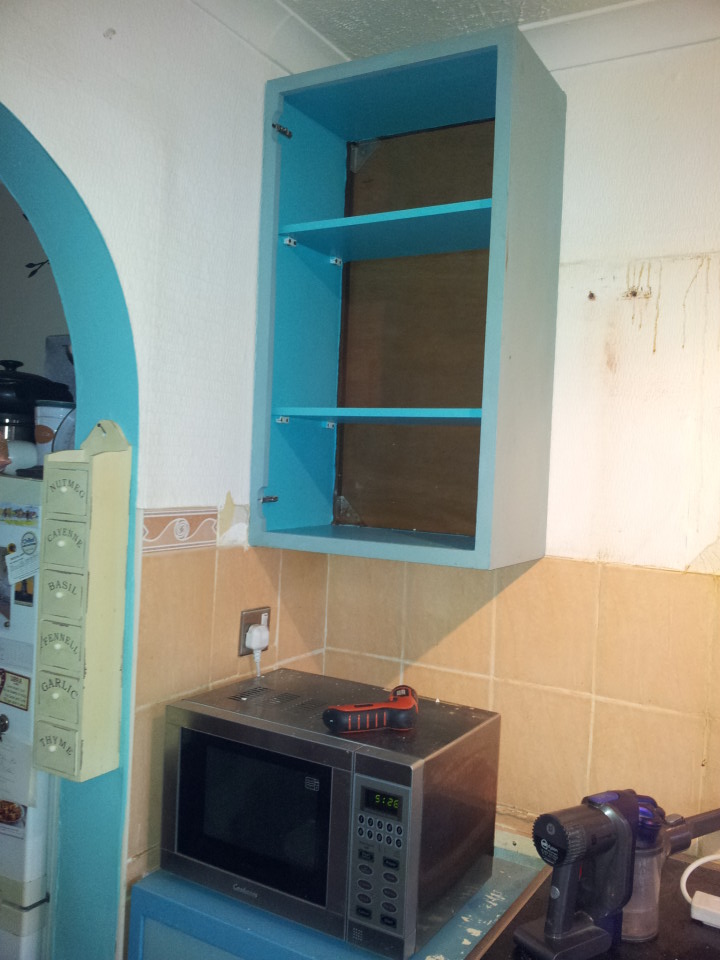
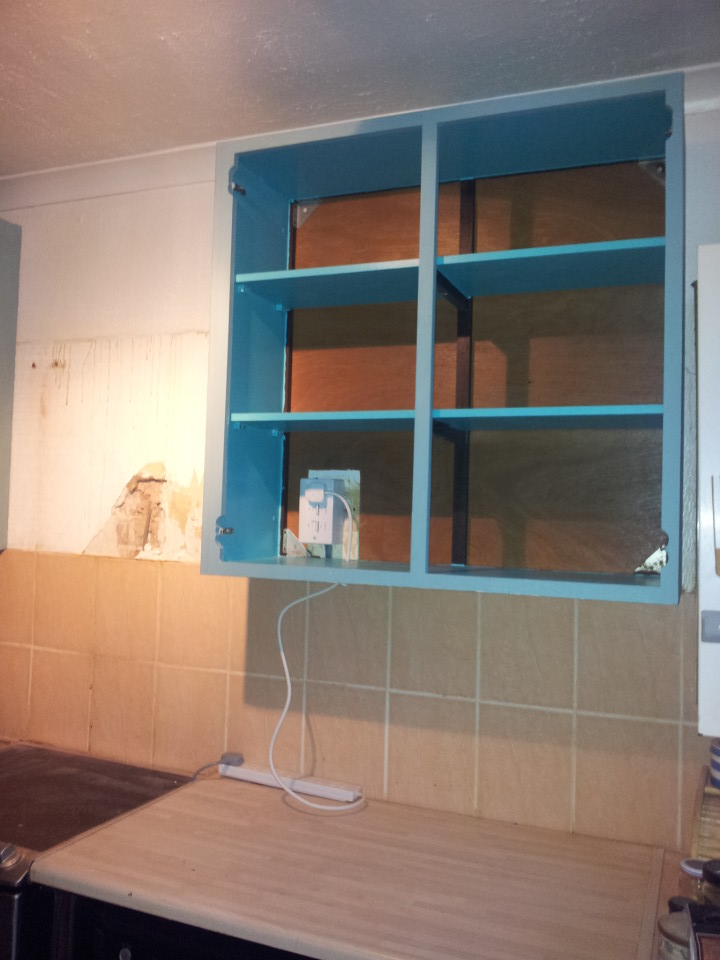
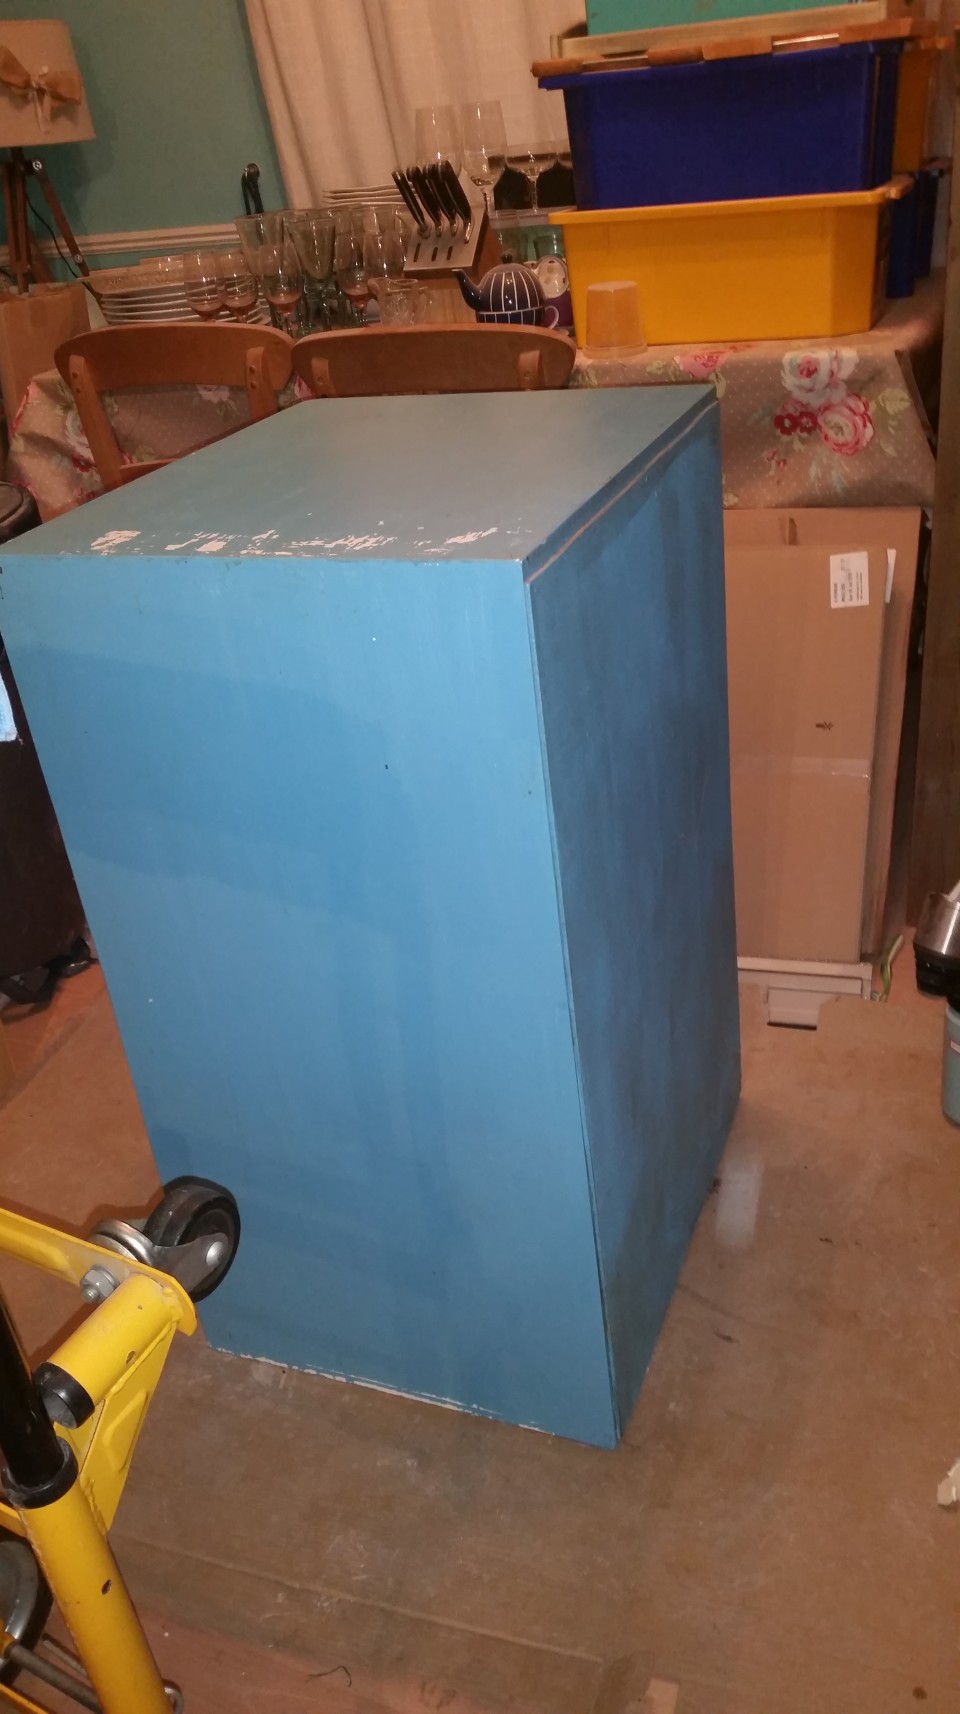
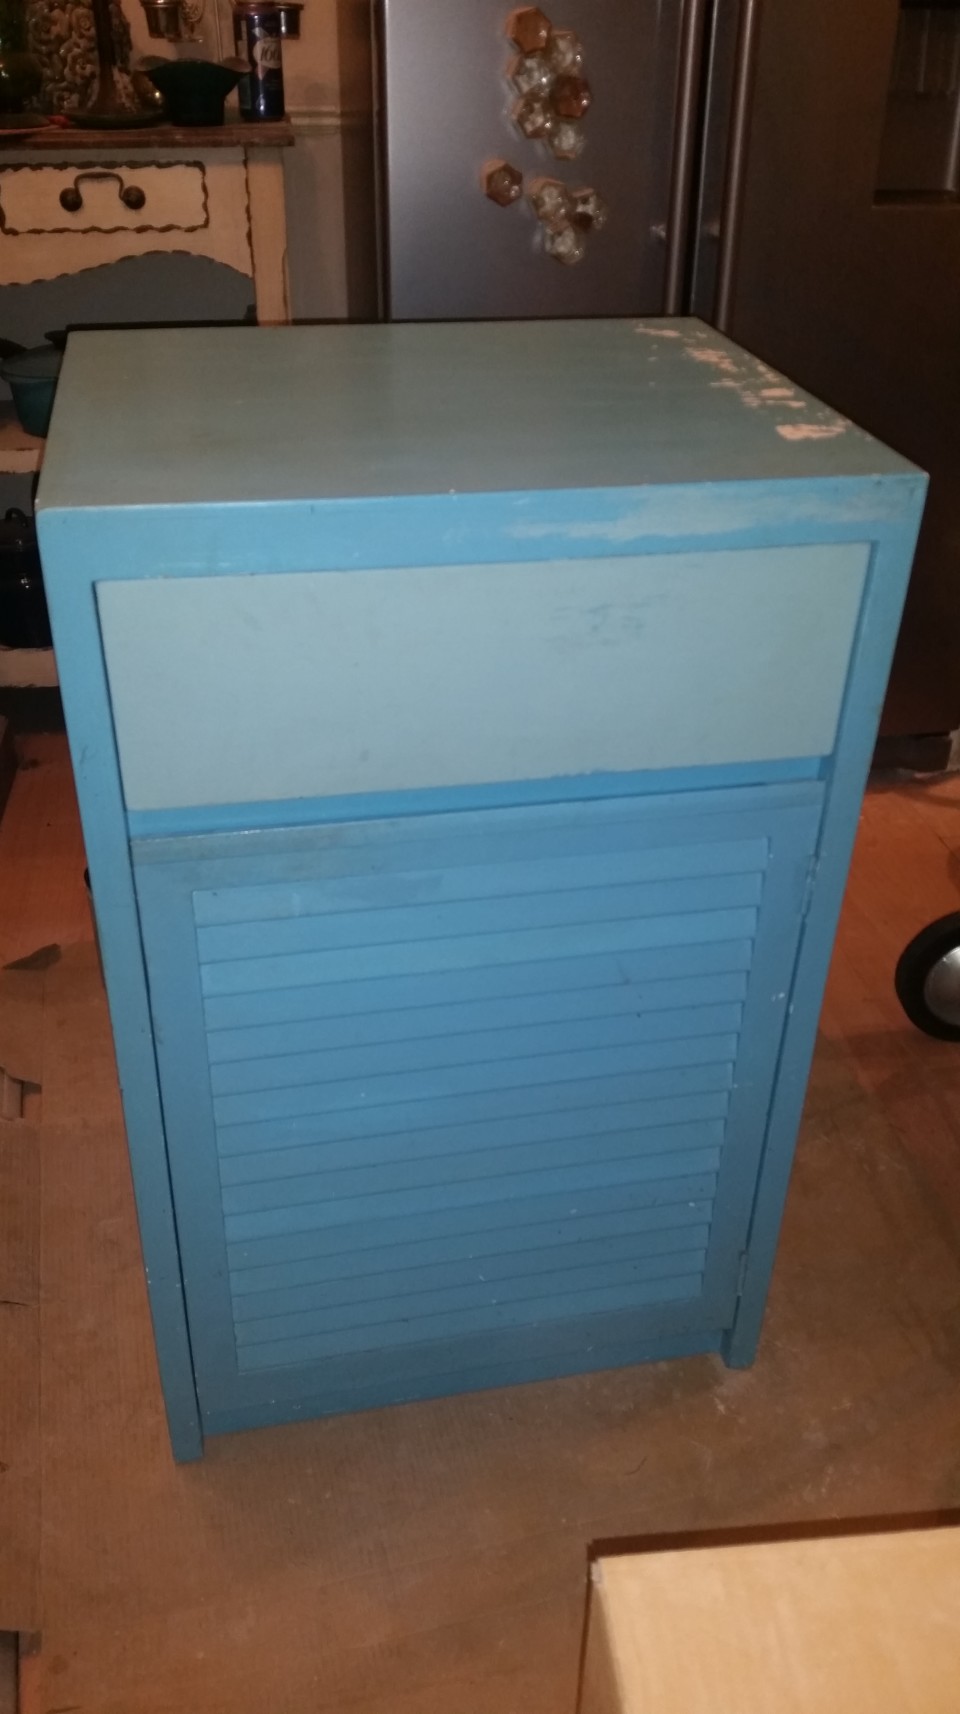
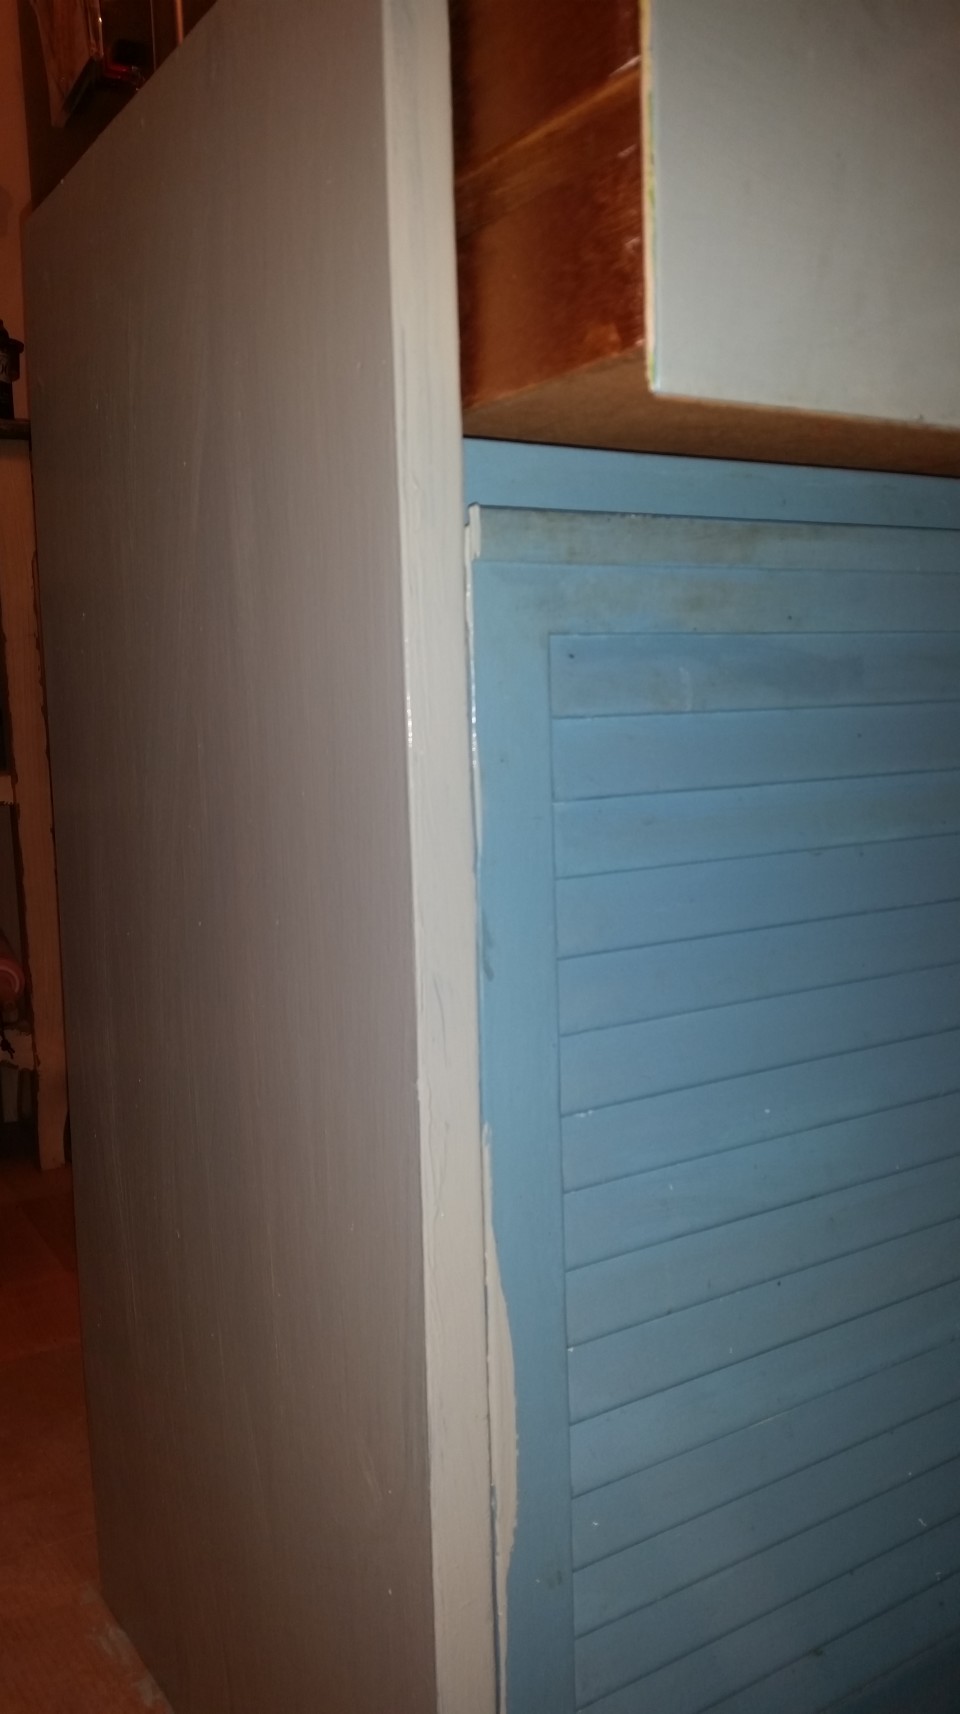
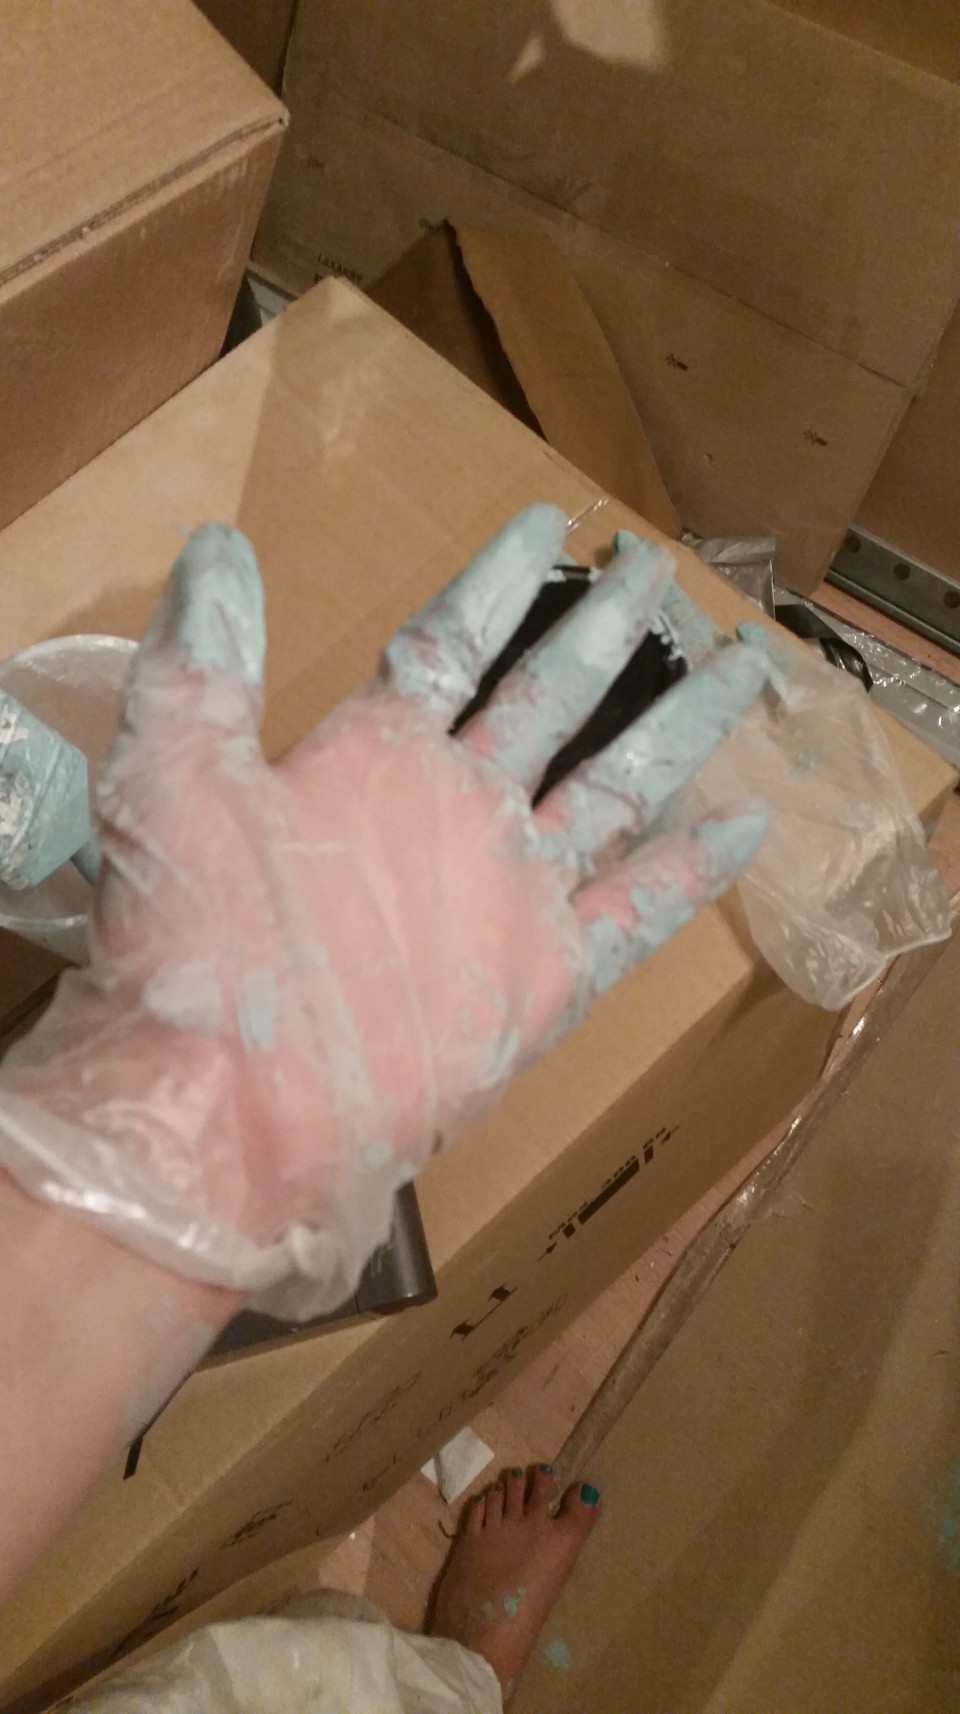
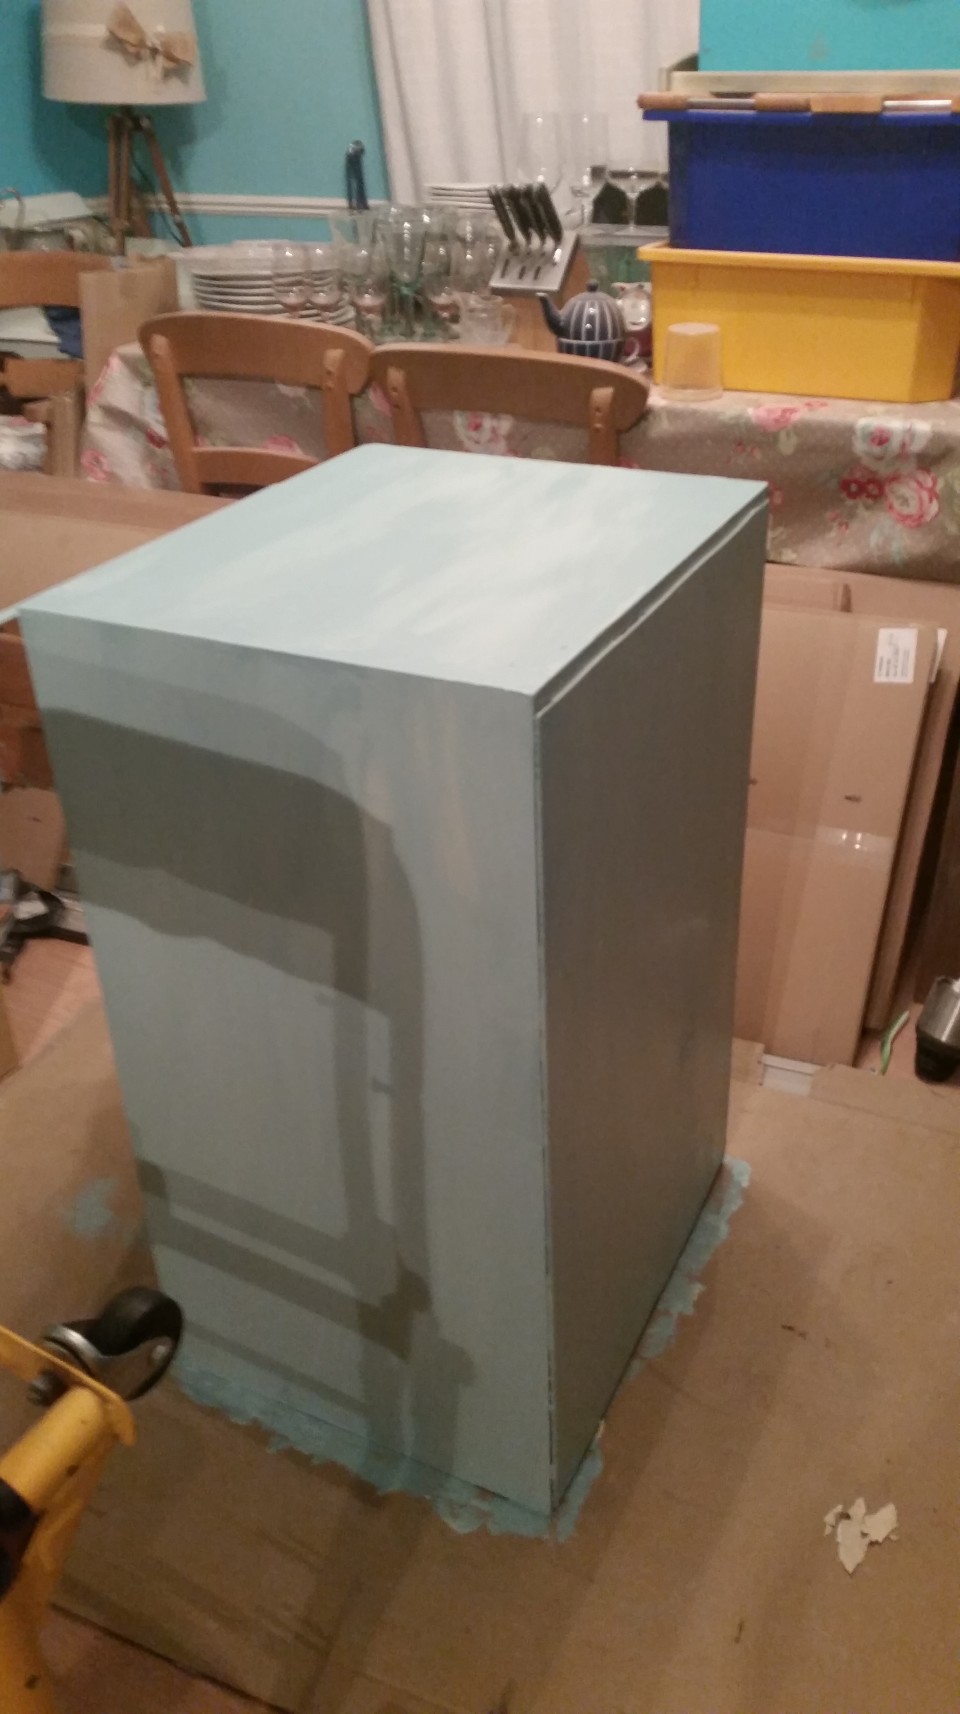
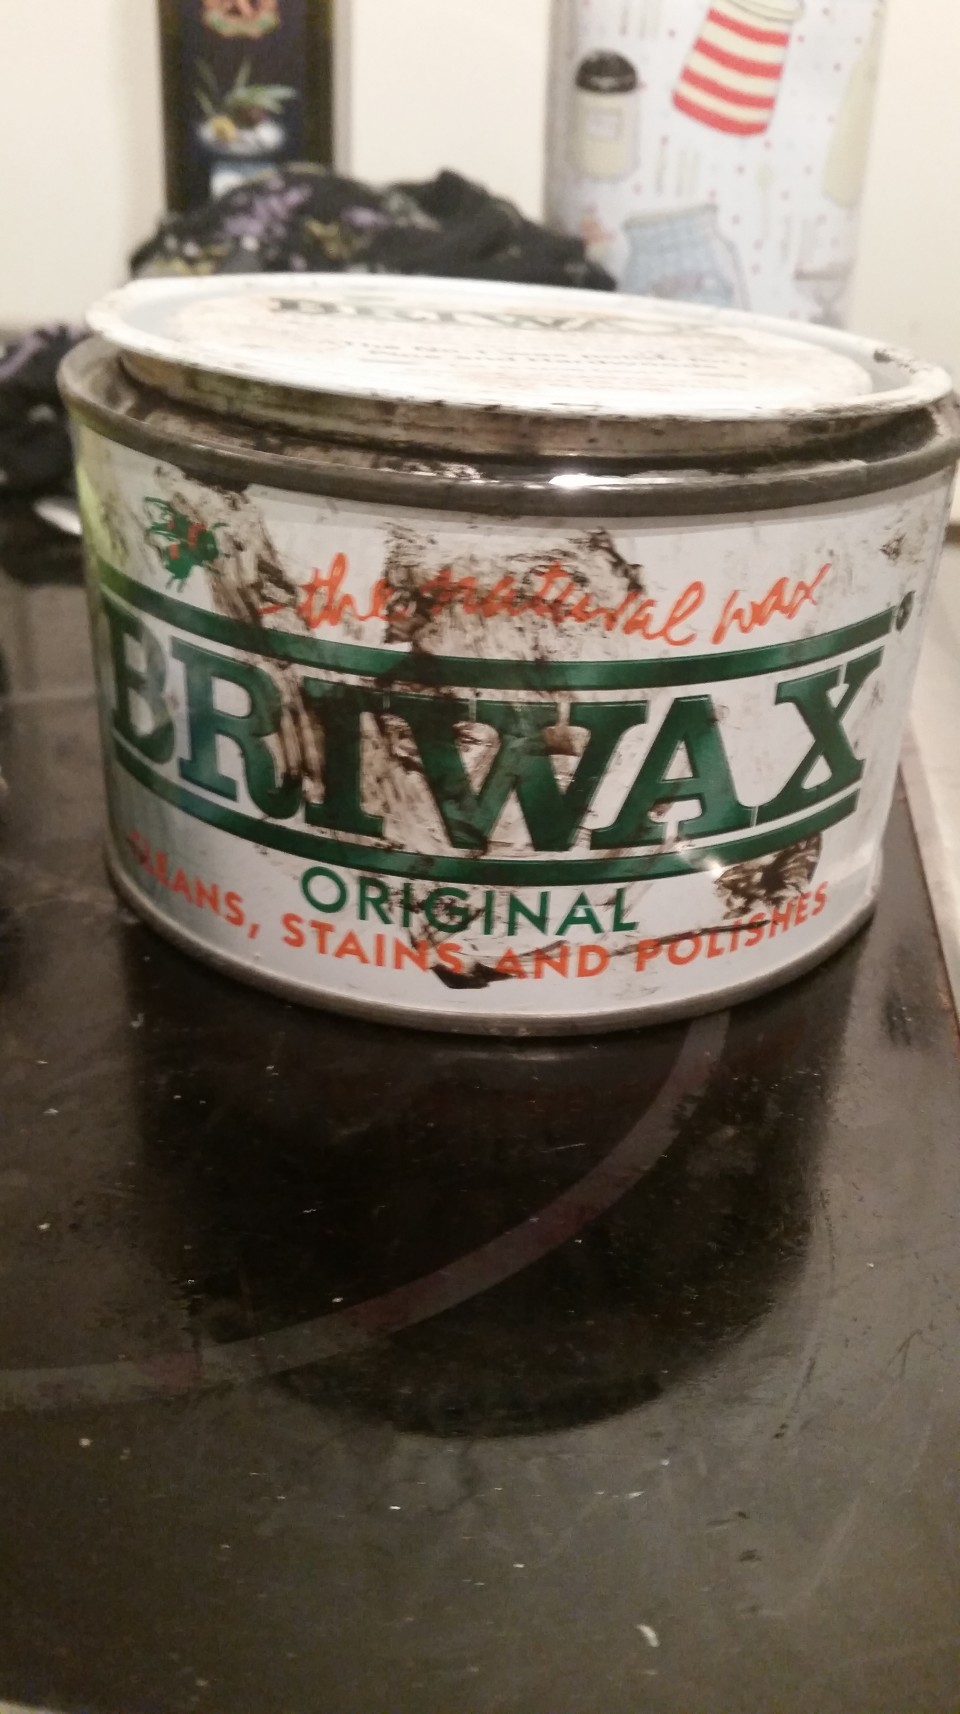
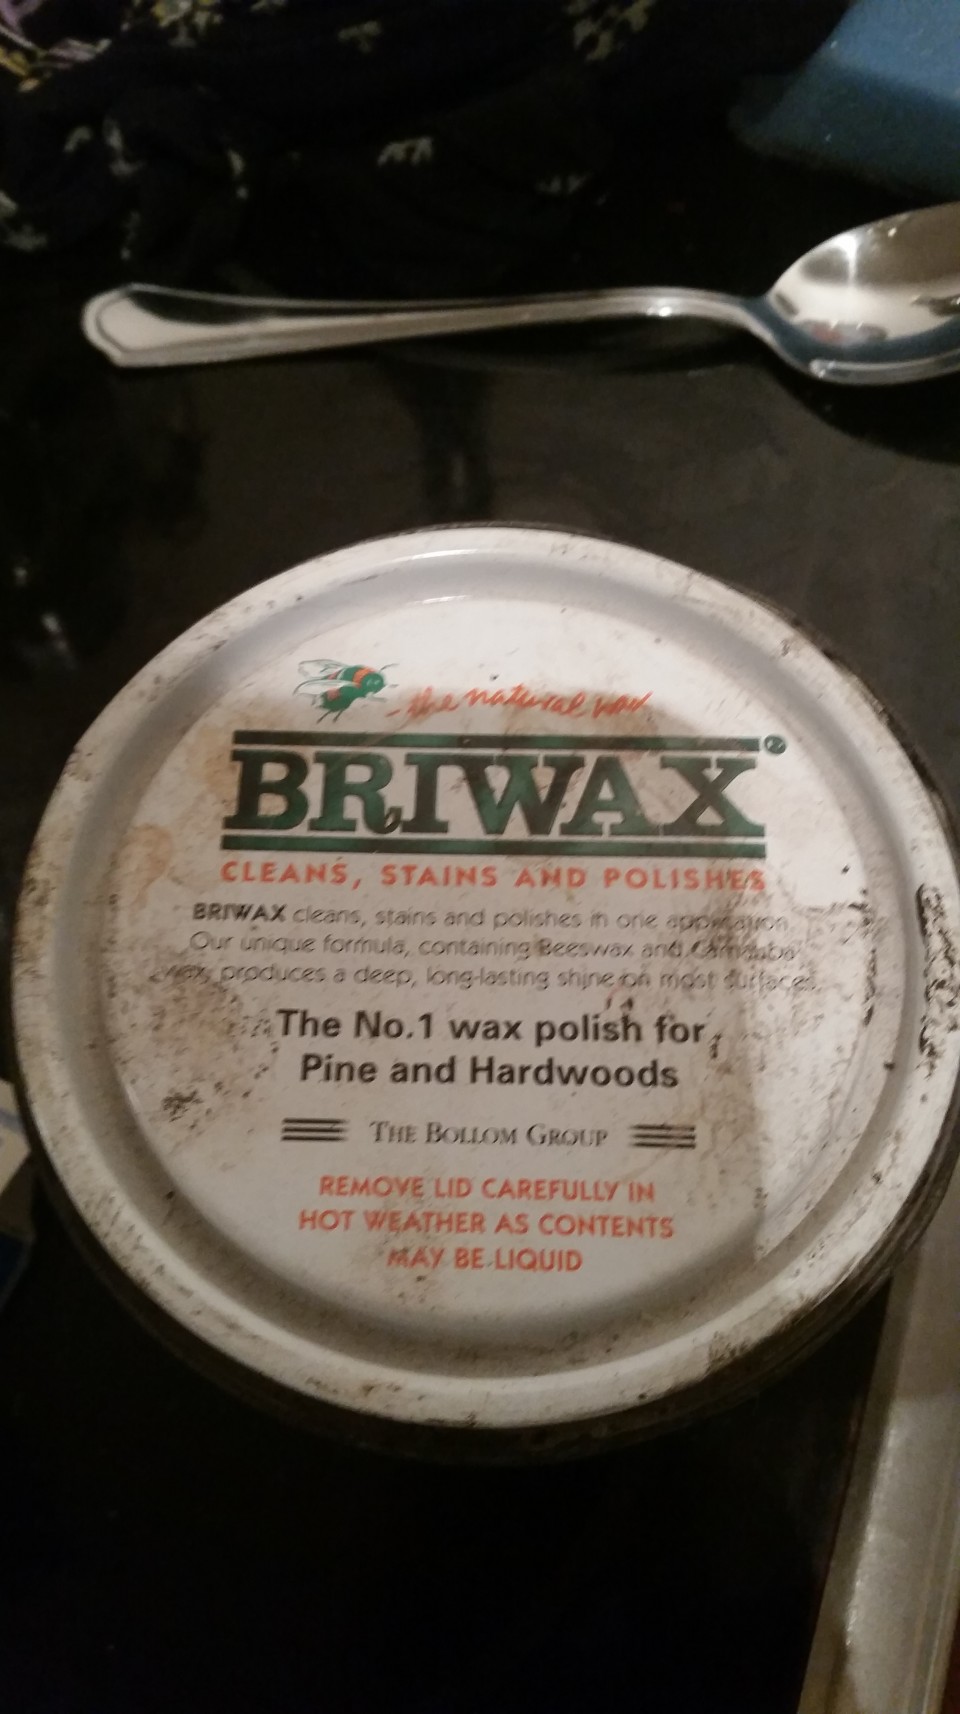
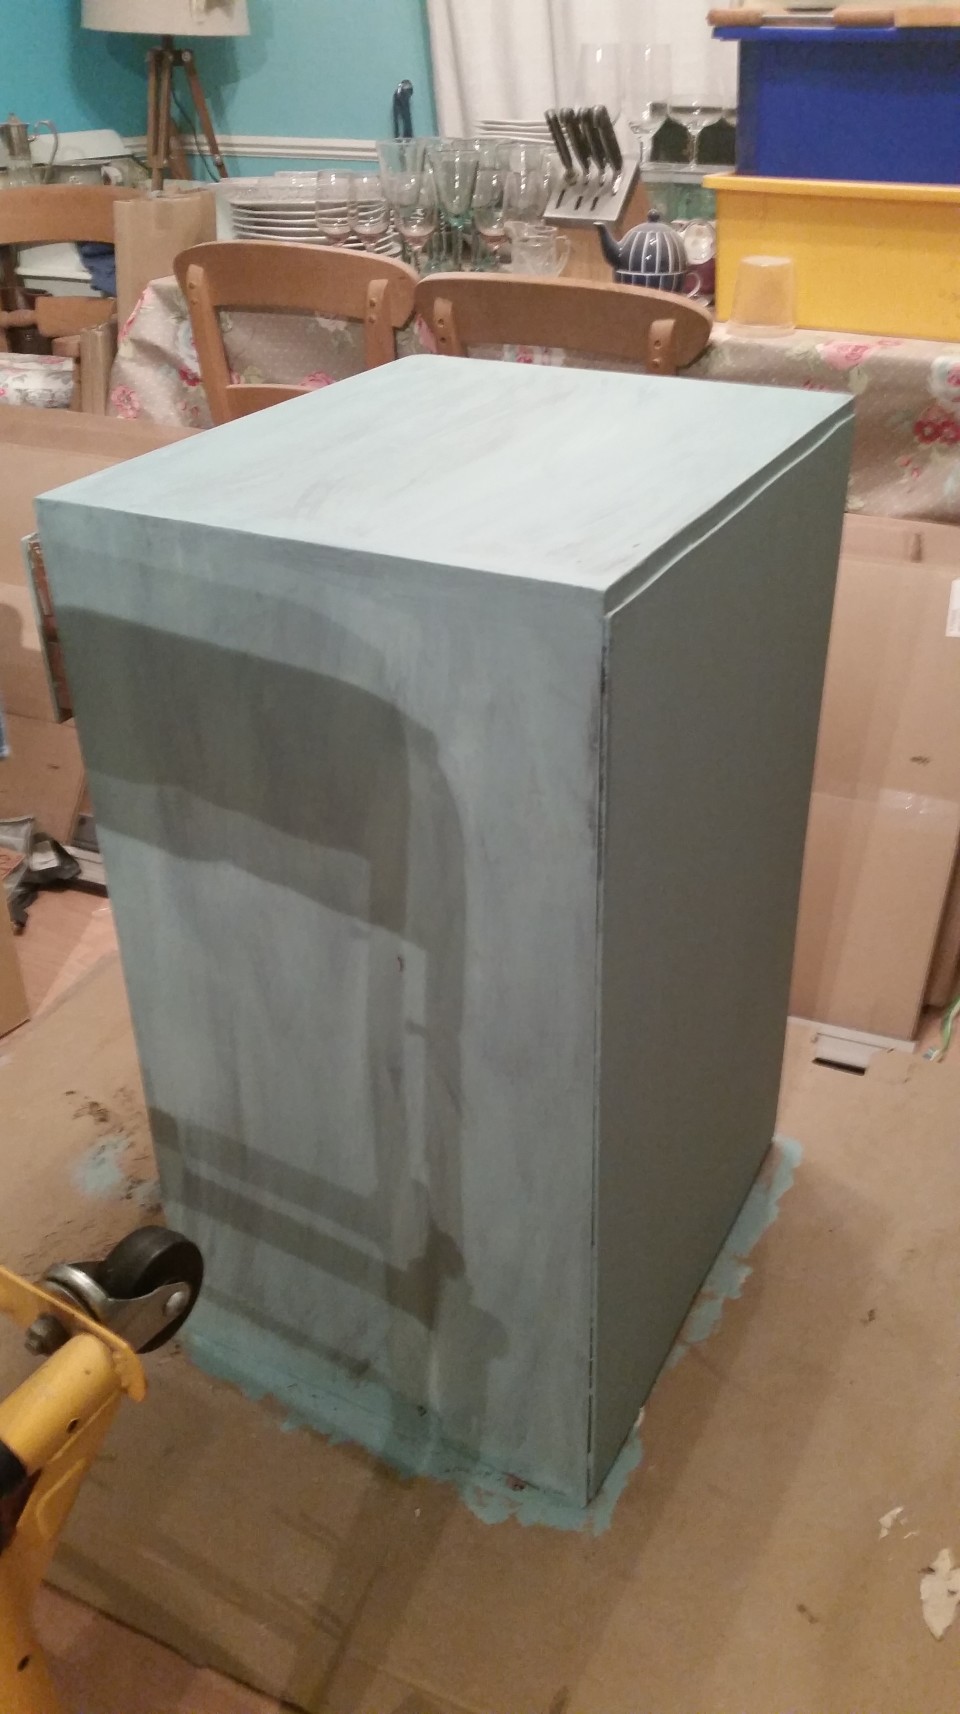
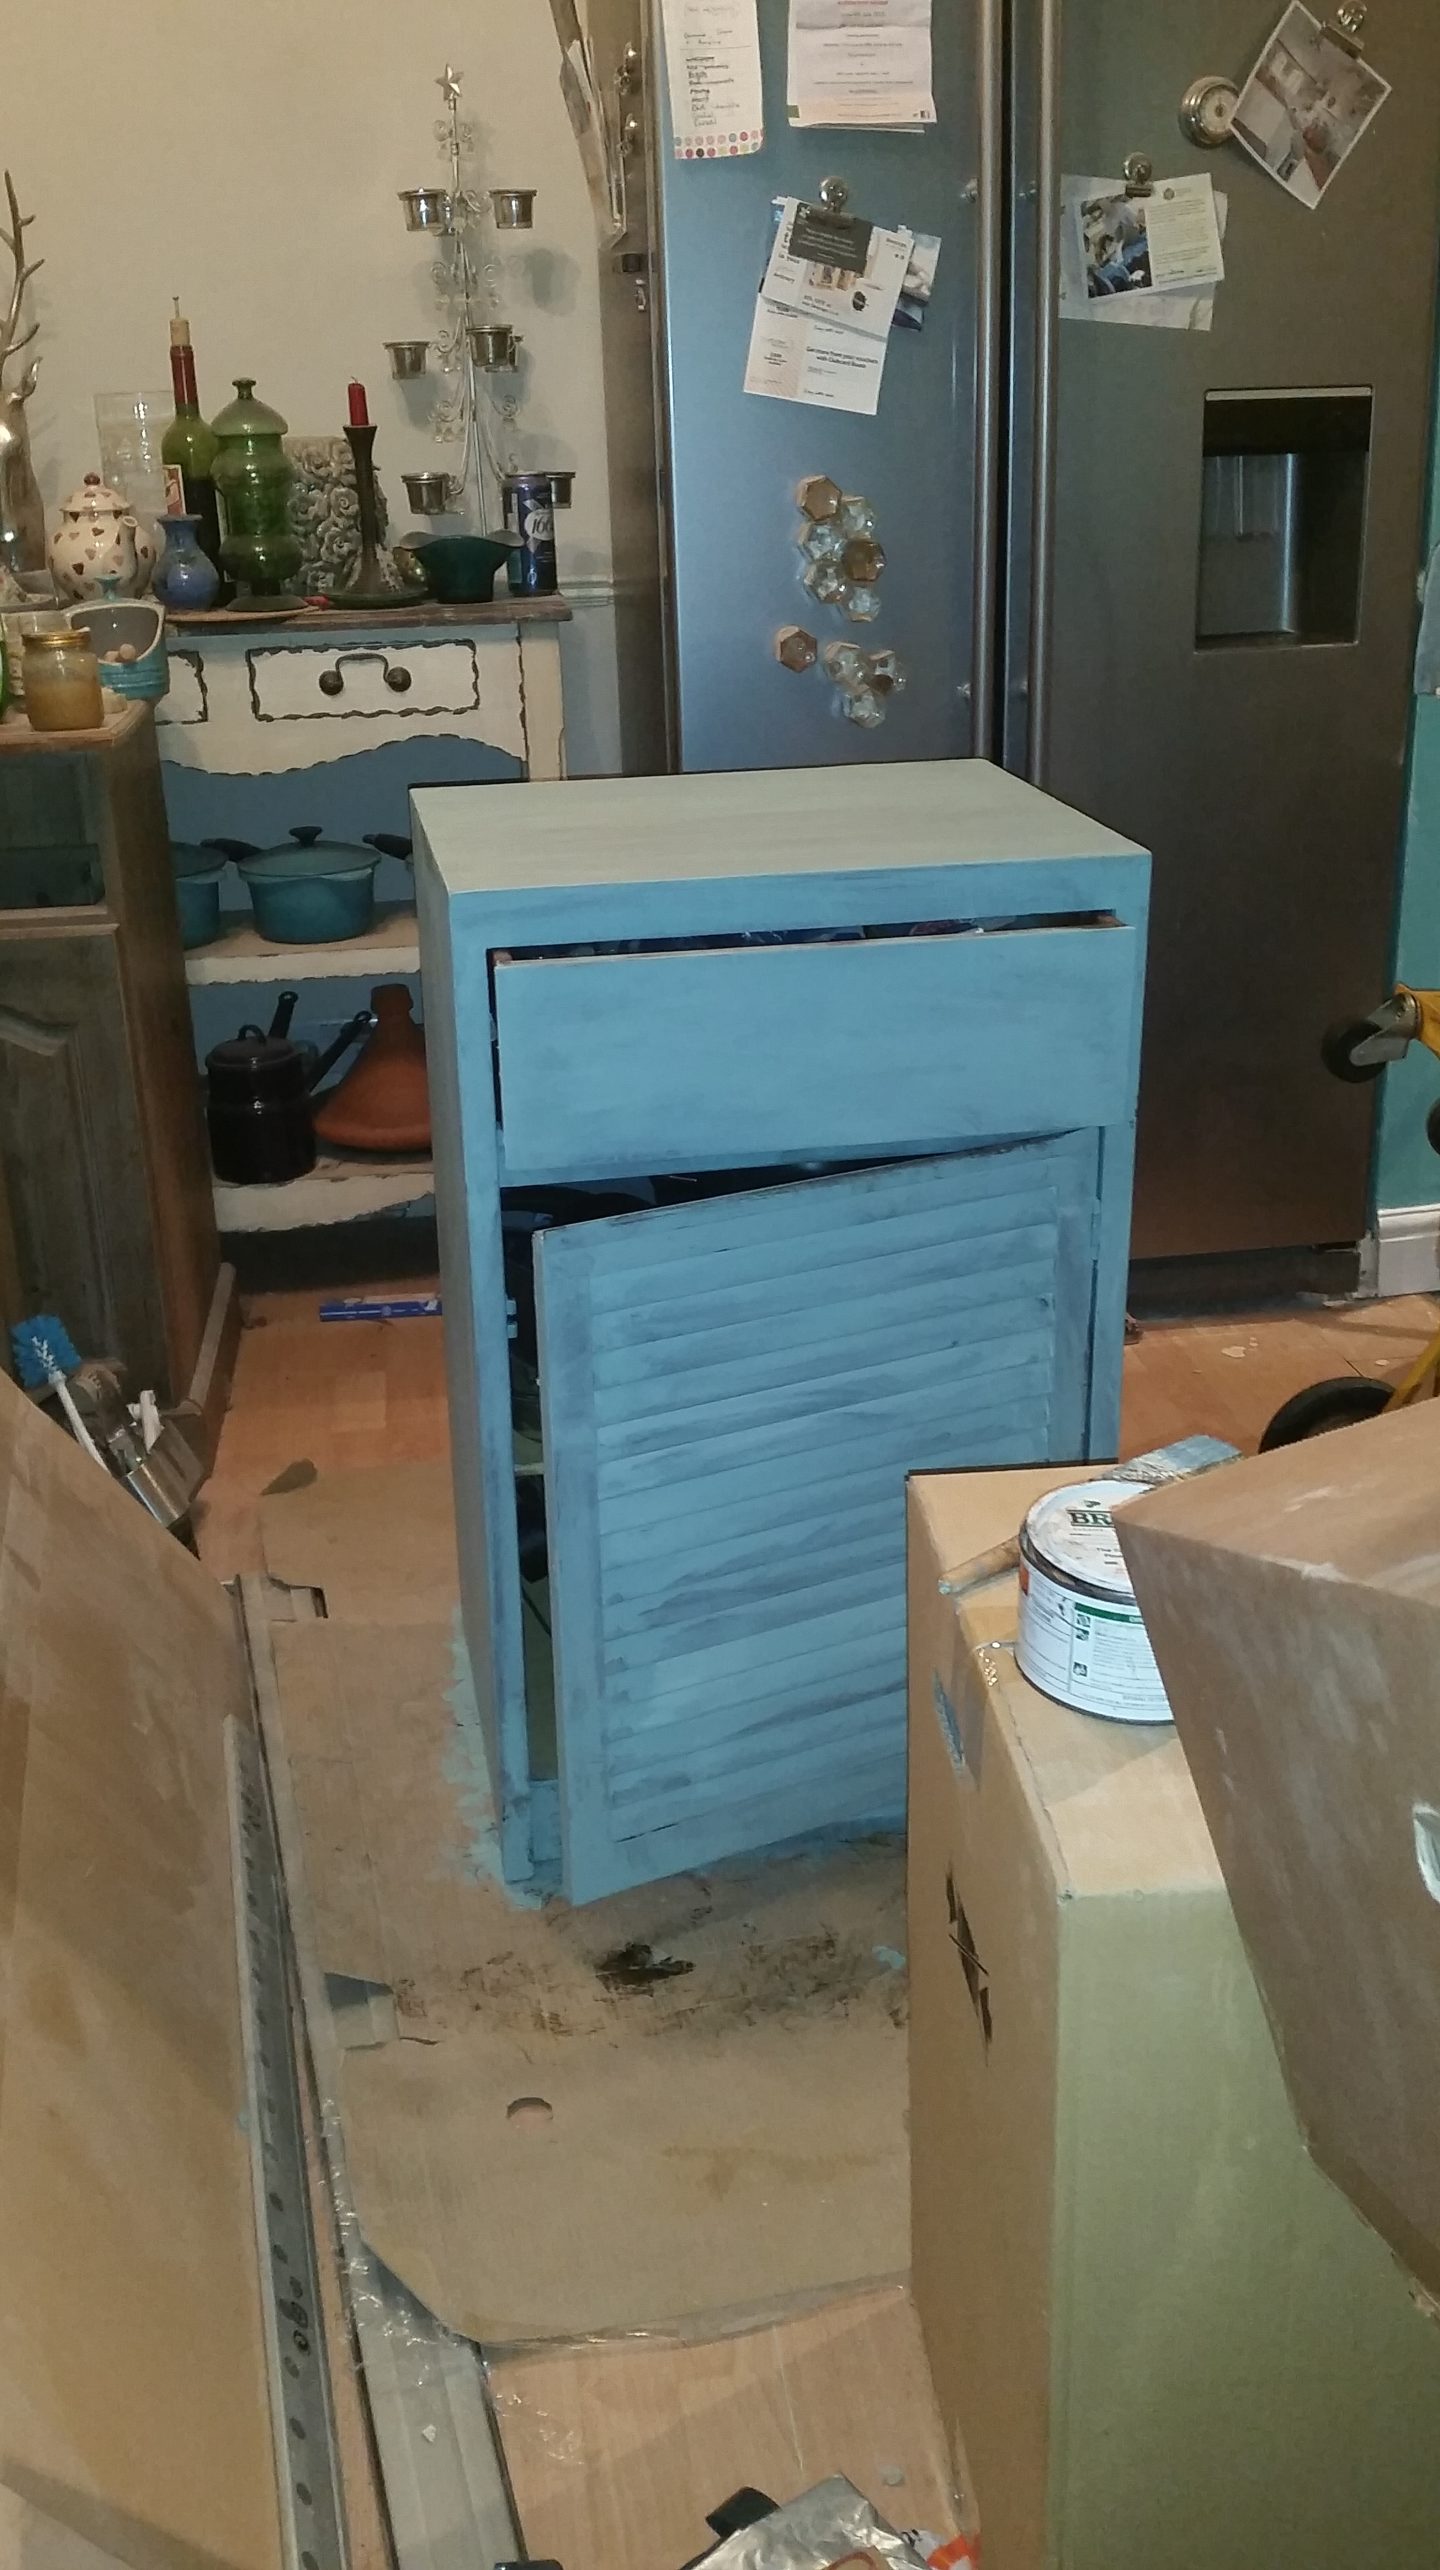
We were fortunate that my Mum’s cousins: Denise & Graham very kindly offered to donate us their second-hand 1970s shaker-style kitchen, with solid mahogany doors and very solid melamine frames, when they pulled it out a few years ago. Initially, I wondered whether it would be possible to upcycle both the wall and floor units for use in our kitchen, but after some investigation, it was clear that we wouldn’t be able to use the base units as they were all solid pieces of furniture and not adaptable enough for the space. However not was lost, by any means in fact, as we were able to use these in the back room/utility for DIY/gardening supplies and I was able to upcycle the wall cabinets. They took the paint very well without any need to sand, I mixed paint from leftover emulsion I had for both the outside, for which I went with a pale blue and the inside which I went for a quite vivid turquoise, I loved the idea of doing something different like that – that is half the joy of upcycling second-hand furniture. They did originally have two-hole fixings for handles, but I wanted to update these to single-hole ones, I found some lovely ones on eBay and I just used multi-surface filler before I painted and this worked like a charm. 🙂 Once I had done a couple of coats of the paint I then used Bri-wax (The Natural Wax – Recognised as the best furniture wax throughout the world). It stinks when you’re putting it on and you must wear gloves and use a cloth you don’t want to keep. Also “Rustic Pine” is the best option to go for, as it does come up pretty dark. I did make the mistake of buying the walnut one and this definitely came out too dark, however, I did find a way of fixing this with my floor cupboard (which I also did up and is photographed below) by going over with another coat of the paint whilst the wax is wet and kind of blending it, this seemed to create a sort of beachy/driftwood finish. This cupboard which I am referring to is especially sentimental to me as it was from my parent’s very first flat and was their very first larder and then was our painting cupboard for the whole of my childhood too, so when Mum offered it to me for my kitchen in my student flat I never looked back, it’s one of my favourite pieces 🙂 – so many happy memories. This is one of the best products to have in your girl’s DIY kit as it really is so versatile and lasts forever and waterproofs everything!





I love the idea of upcycling wall cabinets. I totally (well, almost) redid my kitchen a few years ago, except for the oak cabinets. I’m going to paint them one of these days and I really needed to read this today. Thanks!
As long as you have sturdy carcases there’s no reason why not to do it. It’s really pretty simple and you don’t need to completely strip off old paint or varnish, just scruff it up a bit. Really great way to use up leftover paint too 🙂 best of luck – I’d love to see your before and after photos when you’re done x
That turned out beautifully! I do love a good upcycle!
Why thank you 🙂