

After one very (seemingly endless) road, which in reality was actually around 2 months, but hell to live in – it is time to the big reveal our new Kitchen in all its glory! And Glorious it truly is! I couldn’t be happier with the final result, it has very much been worth all the pain and it is amazing how when you are presented with a beautiful room to cook in every day it is so inspirational and how quickly you forget the road it took to get there, other than having ridiculous levels of appreciation, respect and thankfulness for each and every bit of it. Anyway – enough words – time for reveal photos…
Glorious Finished Kitchen!:

The Big Reveal – Our Glorious Kitchen! Design Inspiration = Vintage Fair 
Cereal Jar = TK Maxx, Flour Tin = eBay, Cup and Saucer (gift) = John Lewis, Polka Jug= Emma Bridgewater, String tin= TK Maxx, Egg Holder = Gift from my lovely cousin Domi, Storage Jars = Charity Shop or Recycled 
Knife Set = Amazon, Heart Bowl = Charity Shop, Heart Cutters = eBay, Jack Daniels Flask = Gift, Storage Jar = Charity Shop, Champney’s handcream = Gift from my lovely friend Chris, Pastry Cutters and tin = Garden Trading, Flour Tin = eBay, Cereal Storage Jar = TK Maxx, Cup and Saucer = John Lewis 
Mrs & Mrs Heart, Love Heart and Bless this House Heart – all gifts, all treasured all from East of India 
Rubber Gloves= Marigold (the old brand worth having), Rubber Glove Stand = Lakeland Ltd, Washing up liquid and Multipurpose Spray= Method, Hand Cream = Marks & Spencers, Hand Wash Dispencer = JosephJoseph, Kitchen Caddy = SimplyHuman, Butler sink, washing up bowl and tap = all IKEA 
Personalised Wedding Mugs = Emma Bridgewater, Shelf = IKEA 
KitchenAid = Go Electrical, Plug Sockets = Screwfix, Laguiole Steak Knife Set = John Lewis, Cast Iron pan stand = Charity Shop, Subway tiles = Topps Tiles 
Magimix = O’Gormans Direct, Oak worktop = IKEA 
Bosch Dishwasher = AO.com, Floor Tiles = Walls and Floors, Cabinets and Worktops = IKEA 
Beko Washing Machine = AO.com, Floor Tiles = Walls and Floors, Cabinets and Worktops and step stool = IKEA 
Beko Washing Machine = AO.com, Floor Tiles = Walls and Floors, Cabinets and Worktops and step stool = IKEA 
Beko Washing Machine = AO.com, Floor Tiles = Walls and Floors, Cabinets and Worktops and step stool = IKEA 
Floor Tiles = Walls and Floors, Cabinets and Worktops and step stool = IKEA 
Floor Tiles = Walls and Floors, Cabinets and Worktops and step stool = IKEA 
Floor Tiles = Walls and Floors, Cabinets and Worktops and step stool = IKEA 
Upcycled cupboard – MFI from my parents first kitchen 
Upcycled Cupboards = 2nd hand from my Mum’s cousin, Brie Baker = Lakeland Ltd, Kitchenaid Mincer and Pasta Attachment = eBay, Falcon Enamelware = Amazon, Batter Jugs = Pampered Chef, Poole Pottery Tea Service = Charity Shop, Graters = TK Maxx, Glass Jug = LSA glass, White Jug = IKEA, Sugar Bowl = Charity Shop 
Popcorn Maker = Amazon, Stock pot = Woolworths, Various glasses = IKEA, TK Maxx, Various Mugs = Whittards of Chelsea, Sophie Conran, Emma Bridgewater, Gisela Graham, Society6, Various Storage Jars and Tins = TK Maxx, Charity Shops, IKEA, Emma Bridgewater, Tin Labels = Martha Stewart Home 
Kitchen Dresser 
Various Measuring Spoons and Cups = TK Maxx, Lakeland Ltd, Next Home 
Plug sockets = Screwfix, Subway Tiles = Topps Tiles 
Case Iron Kitchen Sign/Hooks = (Wedding Gift from BSI) Jimmy’s Farm, Kitchen Scissors = Debenhams, Copper Scoop = eBay, KitchenAid Whisk + Mixer Attachment = Go Electrical 
Blind = Roman Blinds Direct, Shelves, worktop, sink, tap, washing up bowl, Vase = IKEA, Magimix = O’Gormans Direct, Teapot = Emma Bridgewater, Stem vases = Laura Ashley, Enamel Bread Bin = eBay, Vintage Scales = Aldi, Pewter Cat Ring holder = Betterware, Soap Dispenser = JosephJoseph, Hand Cream = Marks and Spencers, Multipurpose Spray + Washing up liquid= Method, Rubber Gloves = Marigold, Rubber Glove Holder = Lakeland Ltd, Kettle = Morphy Richards, KitchenAid = Go Electrical 
Light = Wickes, Blind = Roman Blinds Direct 
Tap, Bowl, Sink = IKEA, Sink Caddy = SimplyHuman, Washing up liquid = Method, Rubber Gloves = Marigold, Rubber Glove Holder = Lakeland Ltd, Kettle = Murphy Richards 
Teapot = Emma Bridgewater, Enamel Vase = IKEA, Stem Vases = Laura Ashley, Soap Dispenser = JosephJoseph, Hand Cream = Marks & Spencers, Multipurpose Spray = Method, Pewter Cat Ring Holder = Betterwear 
Serving Platters = Sophie Conran Portmeirion, Tea for Ones = Whittards of Chelsea, Kitchen Clock = Dotcomgiftshop 
Kitchen Roll Dispenser = Dotcomgiftshop 
My beautiful Birthday cake in our beautiful new kitchen 
New Kitchen – complete at last! (Oct 2015) 
New Kitchen – complete at last! (Oct 2015) 
New Kitchen – complete at last! (Oct 2015) 
New Kitchen – complete at last! (Oct 2015) 
New Kitchen – complete at last! (Oct 2015) 
New Kitchen – complete at last! (Oct 2015) 
Cookery Books & Bookends = Amazon, Mortar and pestle = The Book People, Large Storage Jars = Boutique Homeware Store in Cambridge (name escapes me), Teapot = (Wedding Gift from the lovely family I used to babysit for) = La Cafetière 
New Kitchen – complete at last! (Oct 2015) 
New Kitchen – complete at last! (Oct 2015) 
New Kitchen – complete at last! (Oct 2015) 
New Kitchen – complete at last! (Oct 2015) 
New Kitchen – complete at last! (Oct 2015) 
New Kitchen – complete at last! (Oct 2015) 
New Kitchen – complete at last! (Oct 2015)
Before…
As a reminder – this is what the kitchen looked like before we began our “The Big Reveal” project:
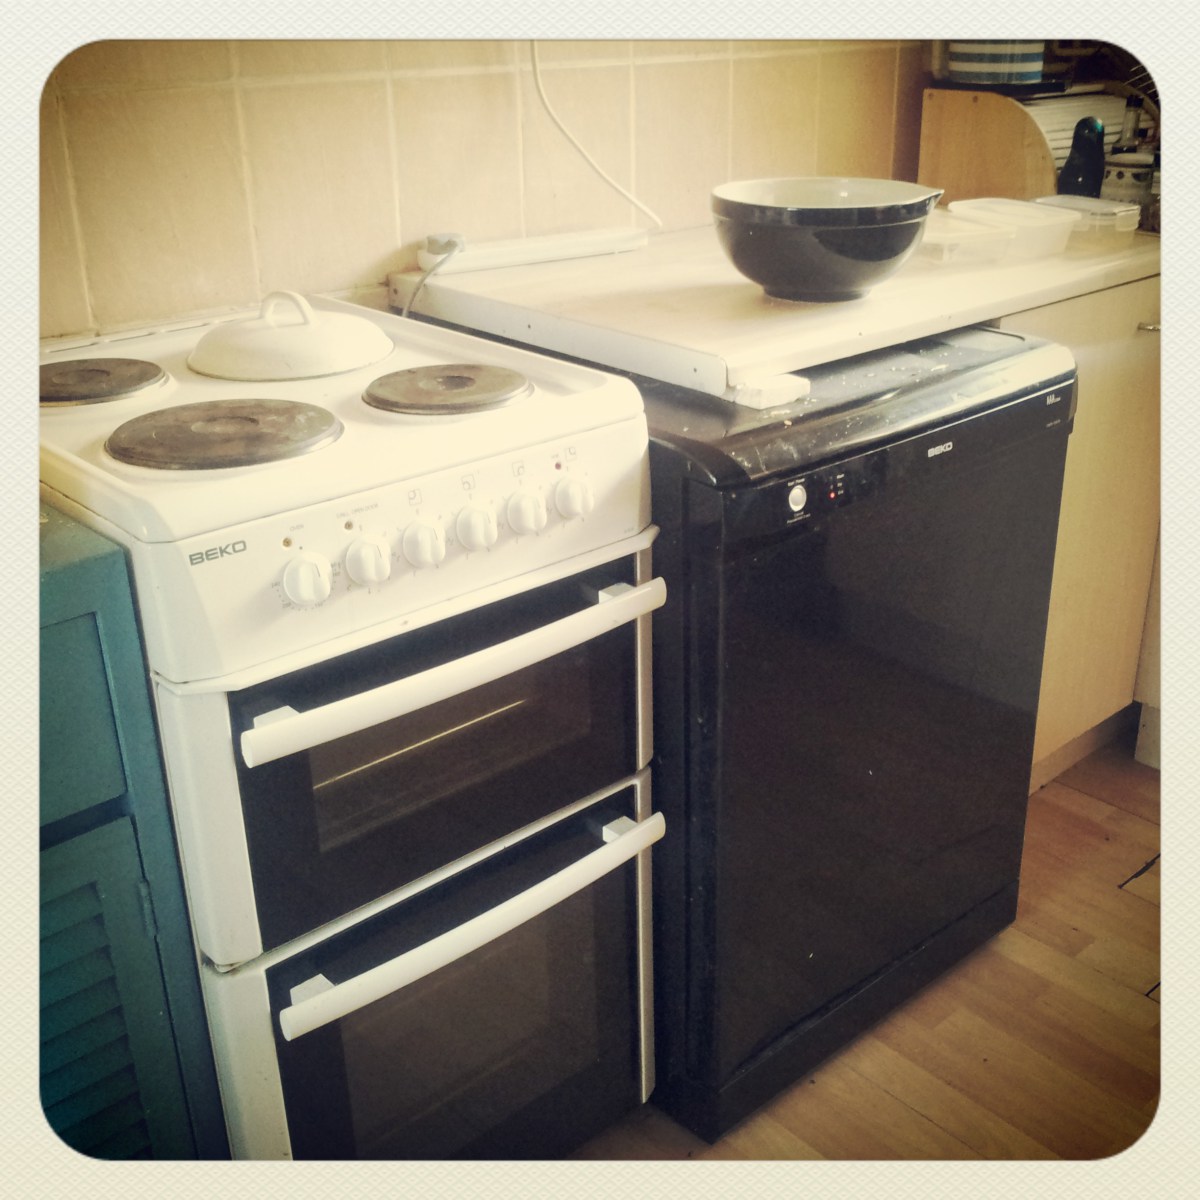
Kitchen Before “The Big Reveal” project. 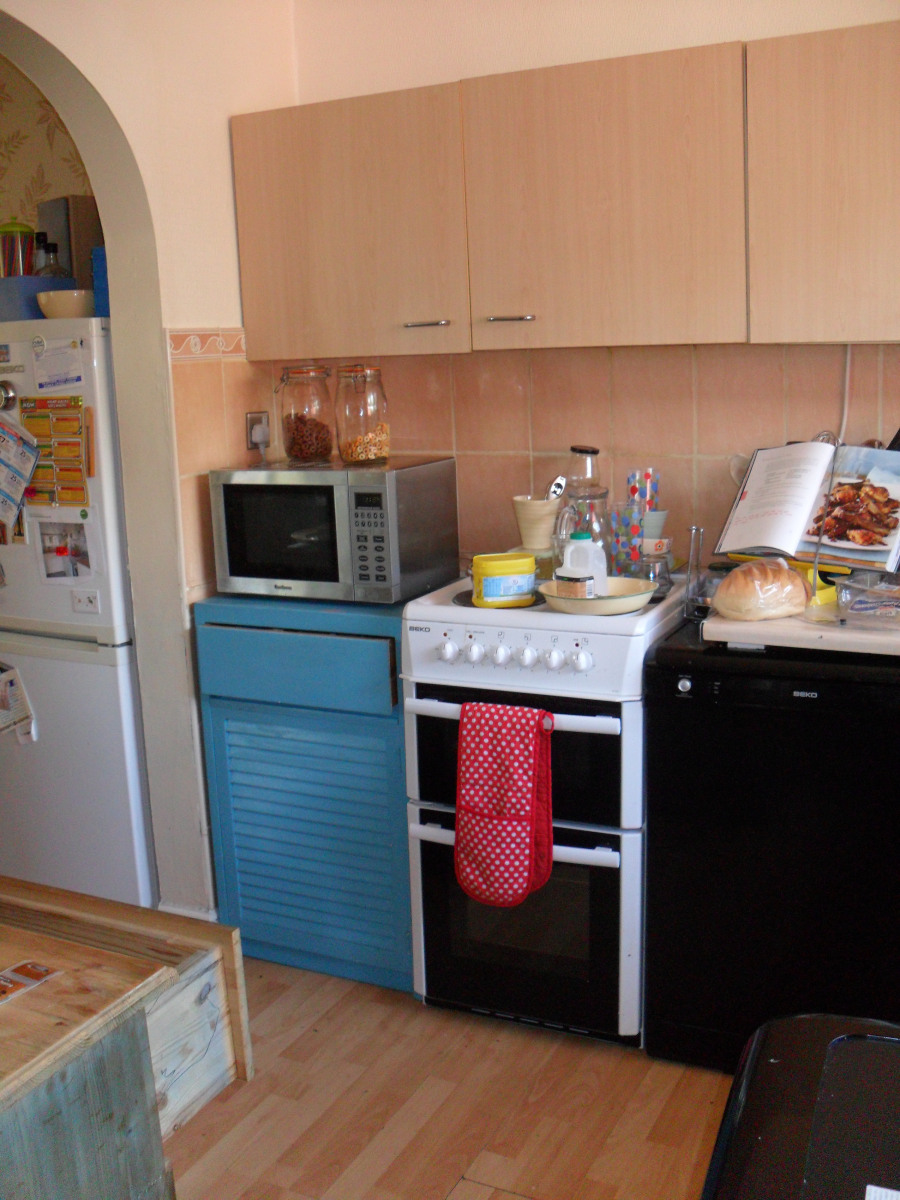
Kitchen Before “The Big Reveal” project. 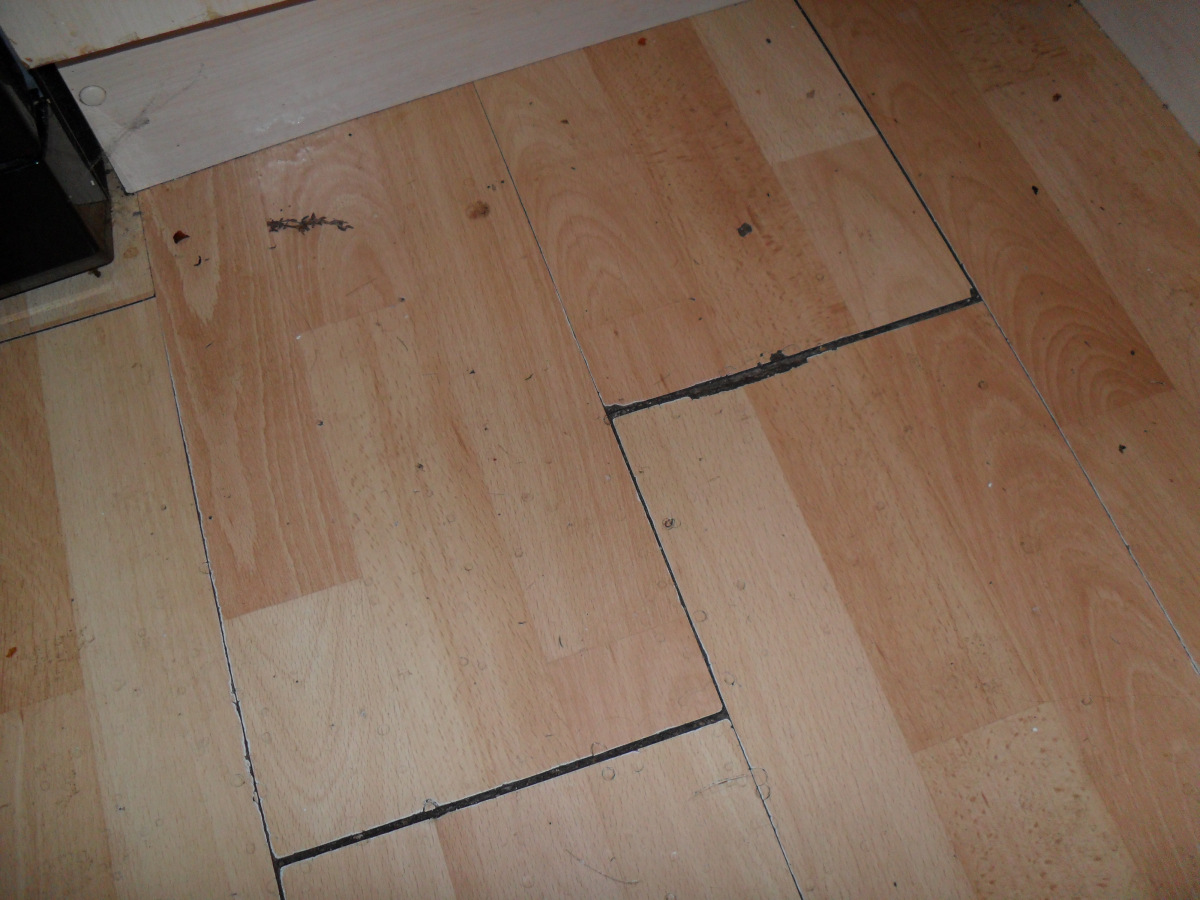
Kitchen Before “The Big Reveal” project. 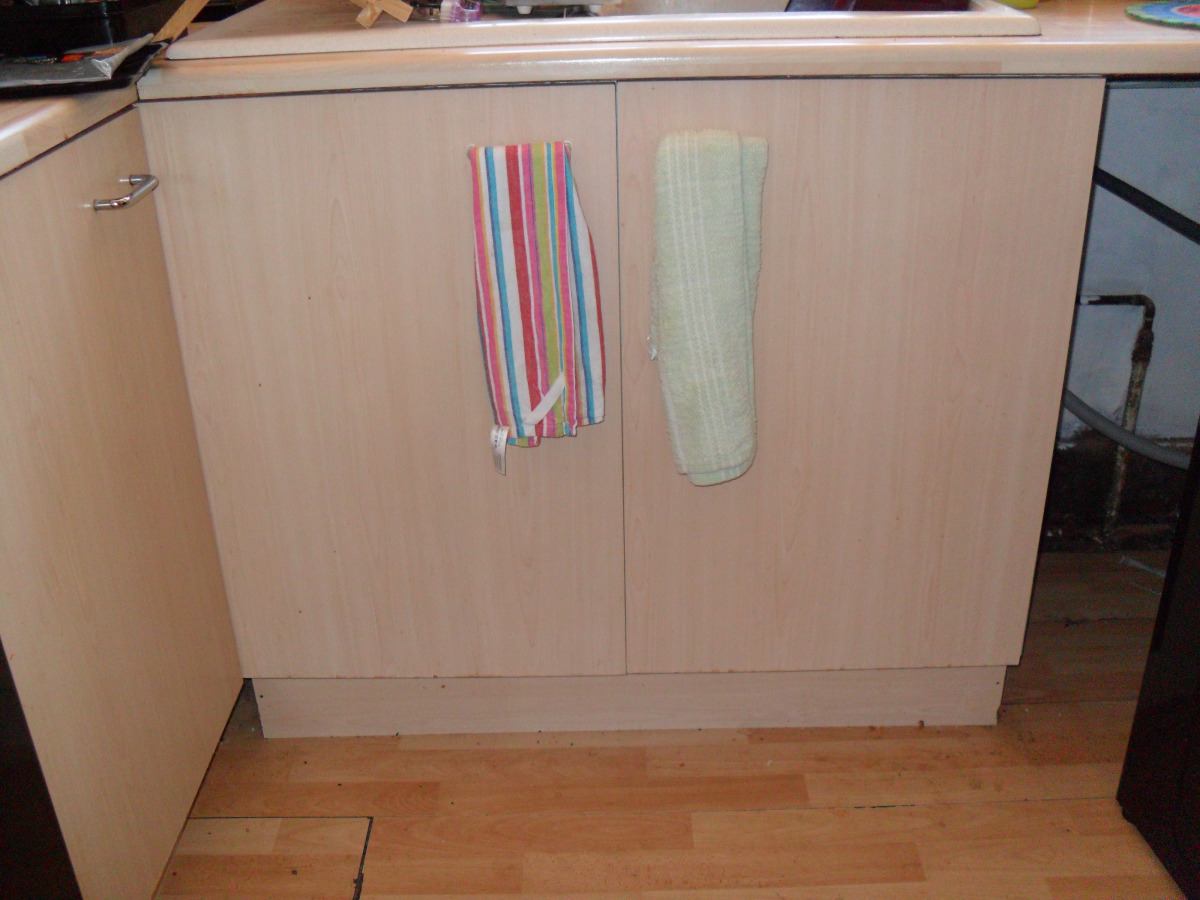
Kitchen Before “The Big Reveal” project. 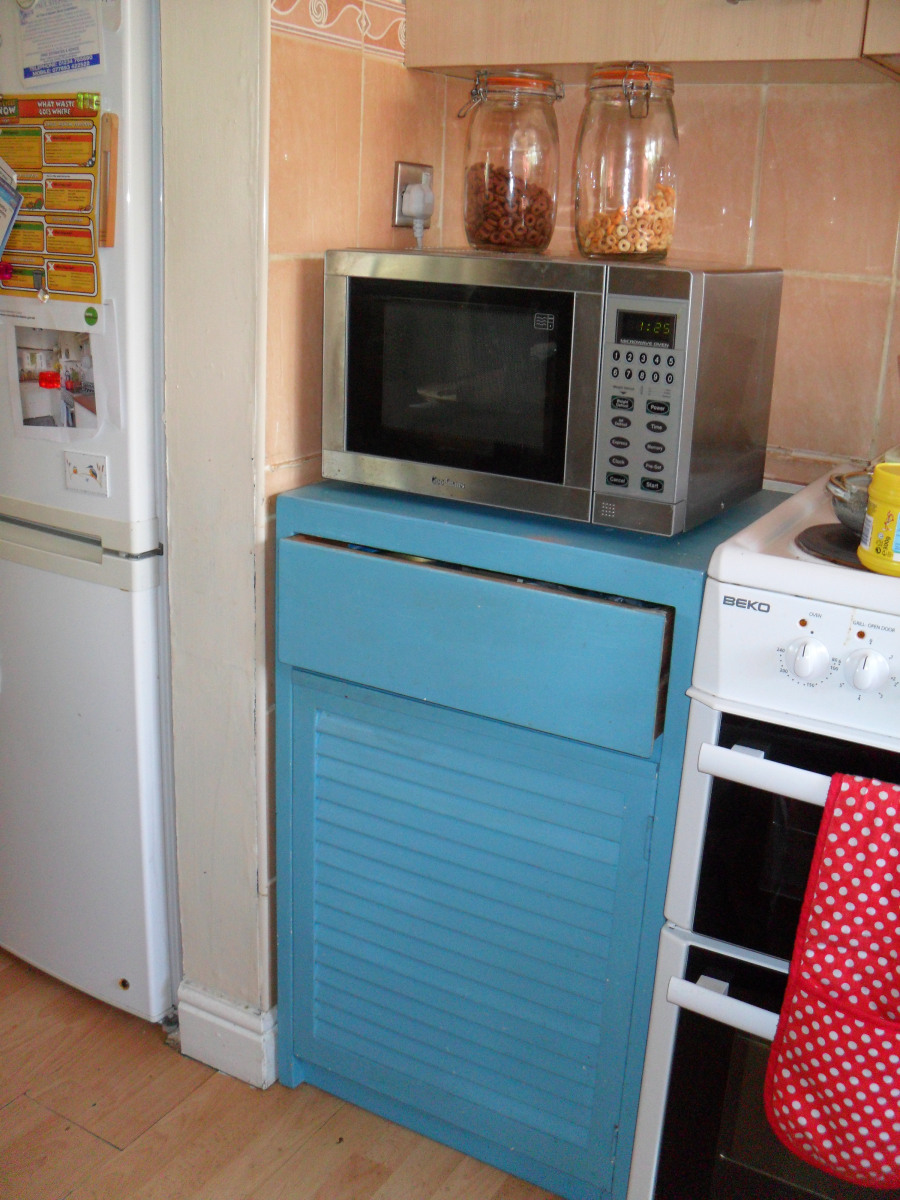
Kitchen Before “The Big Reveal” project. 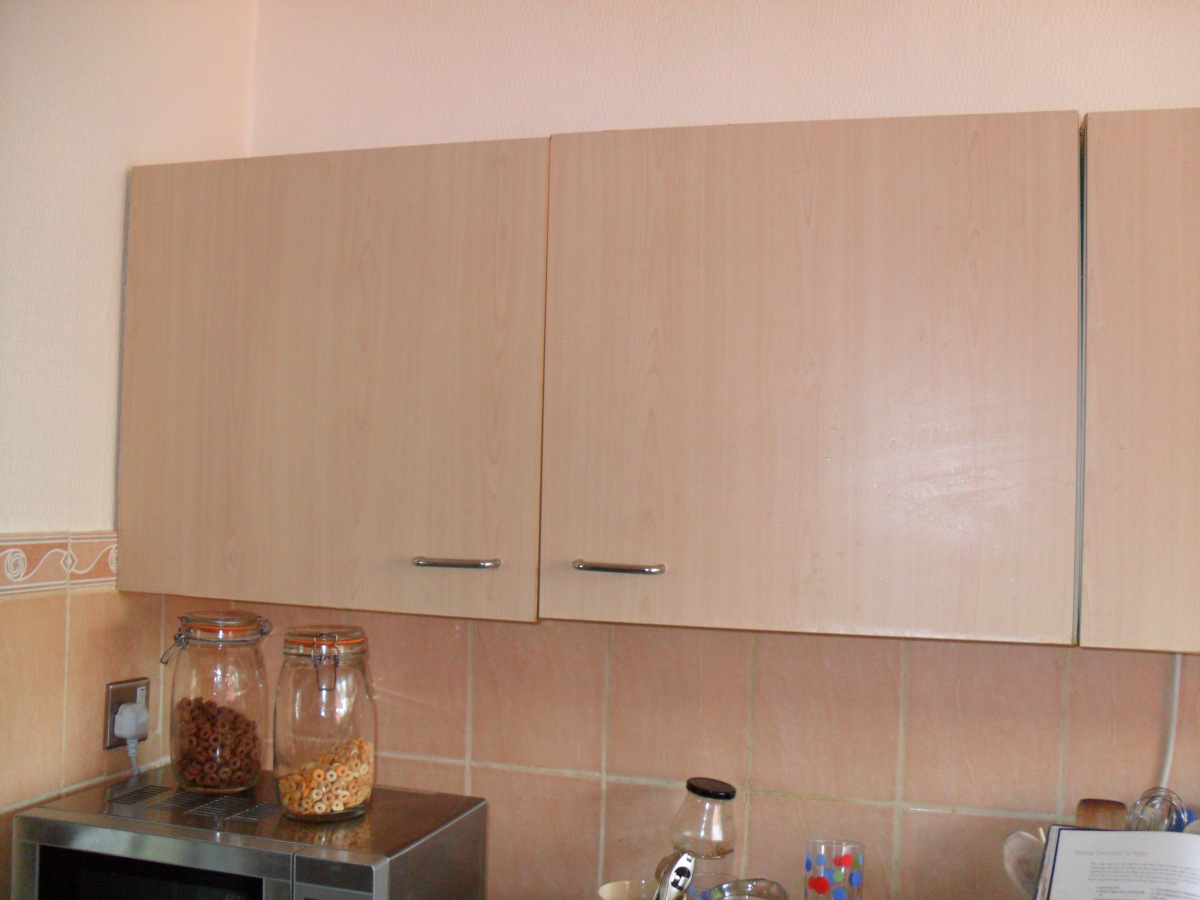
Kitchen Before “The Big Reveal” project. 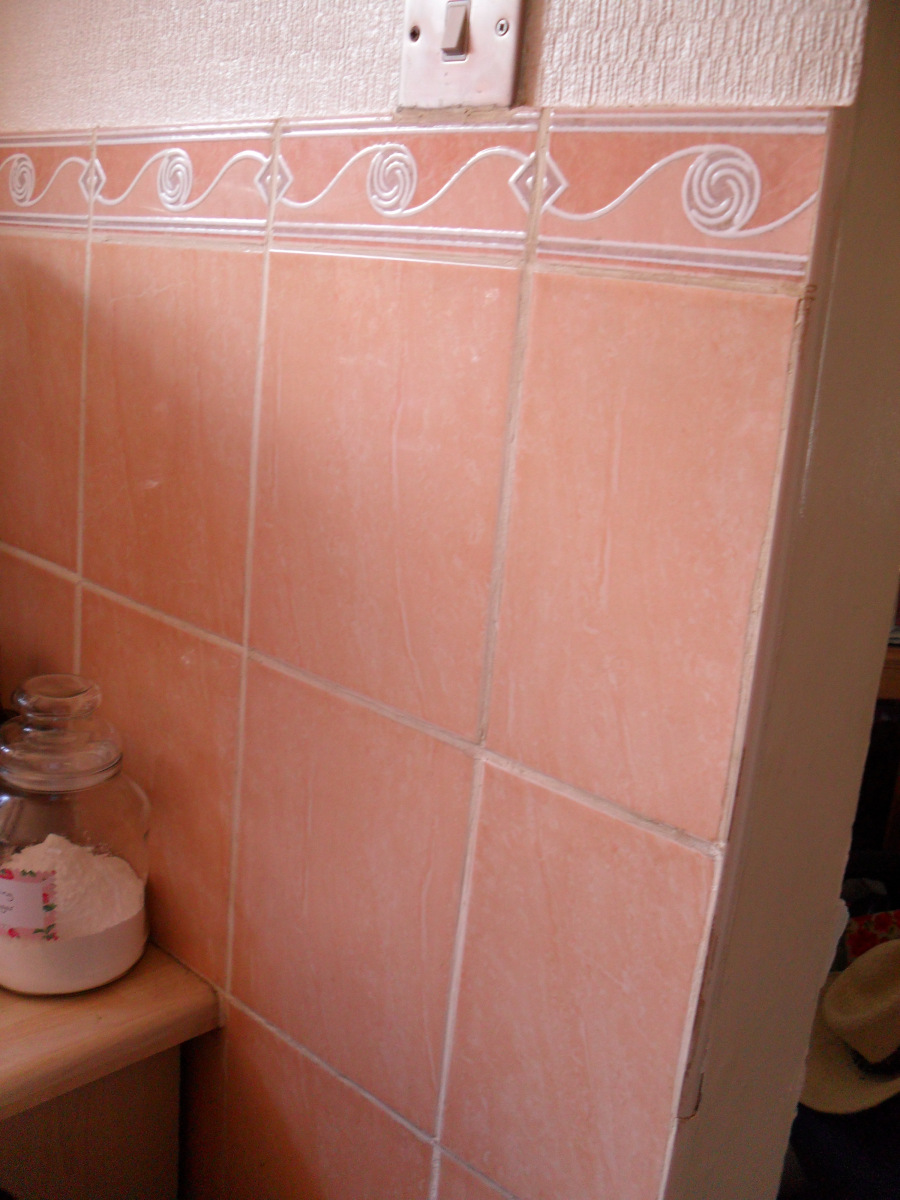
Kitchen Before “The Big Reveal” project. 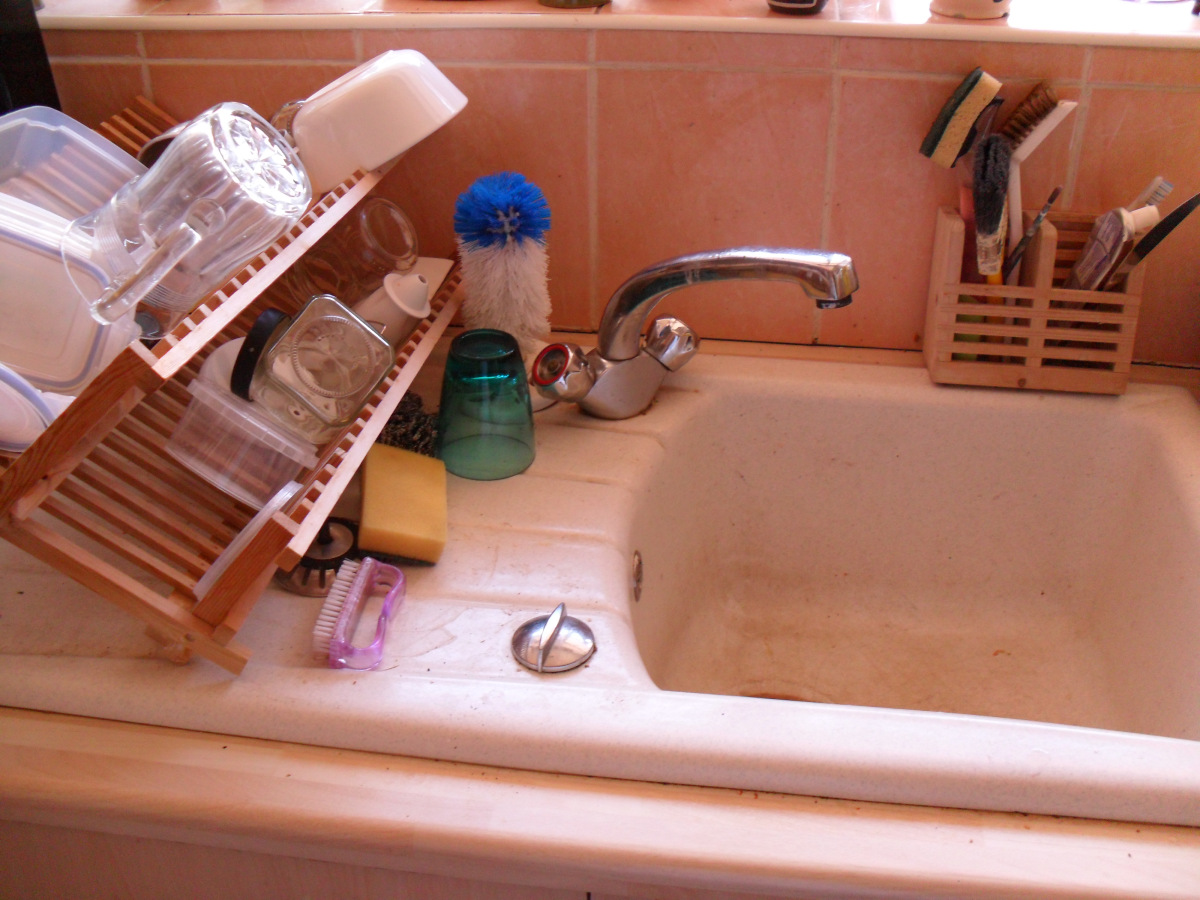
Kitchen Before “The Big Reveal” project begins 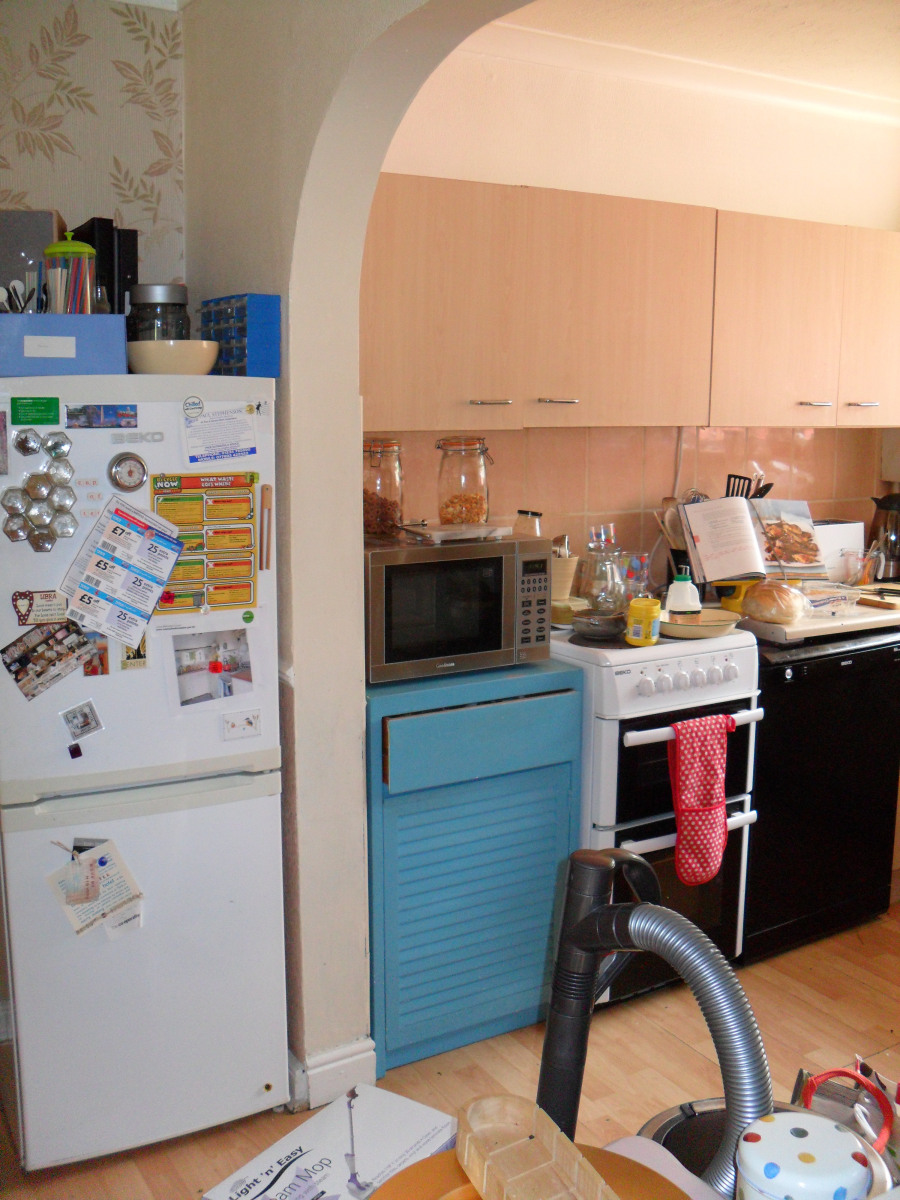
Kitchen Before “The Big Reveal” project. 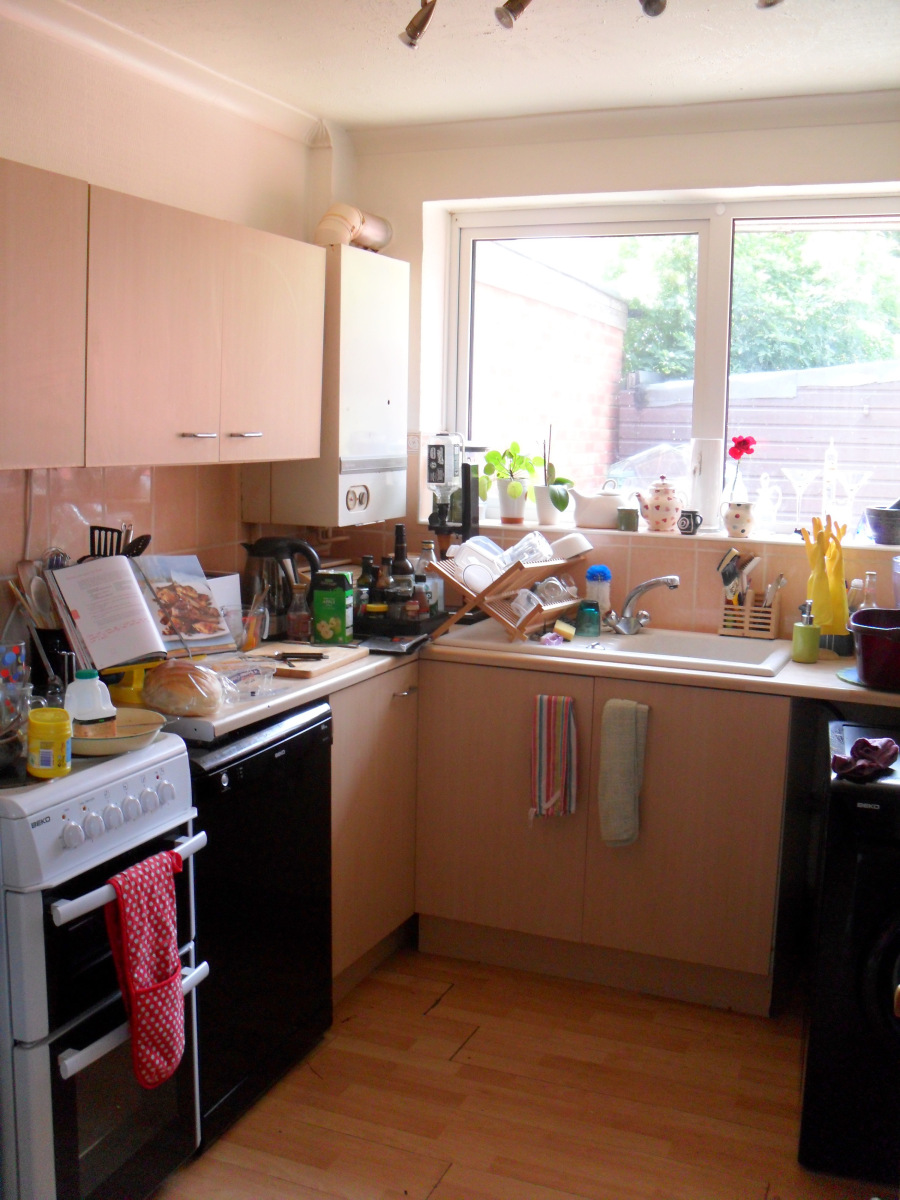
Kitchen Before “The Big Reveal” project.
Renovation Story:
Below is our renovation stories as a slideshow so you can click through all the stages we went through to get to this final result:

Day 1: The Kitchen arrives 
Kitchen Day 2: Time to dismantle 
Kitchen Day 2: Time to dismantle 
Kitchen Day 2: Time to dismantle 
Kitchen Day 2: Time to dismantle 
Kitchen Day 2: Time to dismantle. A scrap of the original floor below the laminate – a wonderful window into the past 🙂 
Kitchen Day 2: Time to dismantle 
Kitchen Day 2: Time to dismantle 
Kitchen Day 2: Time to dismantle 
Kitchen Day 2: Time to dismantle 
Kitchen Day 2: Time to dismantle 
Kitchen Day 2: Time to dismantle 
Kitchen Day 2: Time to dismantle 
Kitchen Day 2: Time to dismantle 
Kitchen Day 2: Time to dismantle 
Kitchen Day 3: Chasing the wall for the new plug sockets -we only had one proper socket in the whole kitchen before starting this refurb! 
Kitchen Day 3: Chasing the wall for the new plug sockets -we only had one proper socket in the whole kitchen before starting this refurb! 
Kitchen Day 3: Chasing the wall for the new plug sockets -we only had one proper socket in the whole kitchen before starting this refurb! 
Kitchen Day 3: Chasing the wall for the new plug sockets -we only had one proper socket in the whole kitchen before starting this refurb! 
Kitchen Day 3: Chasing the wall for the new plug sockets -we only had one proper socket in the whole kitchen before starting this refurb! 
Kitchen Day 4: First Plastering day – patching up the swiss cheese walls! 
Kitchen Day 4: First Plastering day – patching up the swiss cheese walls! 
Kitchen Day 4: First Plastering day – patching up the swiss cheese walls! 
Kitchen Day 4: First Plastering day – patching up the swiss cheese walls! 
Kitchen Day 4: First Plastering day – patching up the swiss cheese walls! 
Kitchen Day 4: First Plastering day – patching up the swiss cheese walls! 
Kitchen Day 4: First Plastering day – patching up the swiss cheese walls! 
Kitchen Day 4: First Plastering day – patching up the swiss cheese walls! 
Kitchen Day 4: First Plastering day – patching up the swiss cheese walls! 
Kitchen Day 4: First Plastering day – patching up the swiss cheese walls! 
Kitchen Day 4: First Plastering day – patching up the swiss cheese walls! 
Kitchen Day 5: Waiting for the first layer of plaster to dry 
Kitchen Day 6: Tiling the Floor 
Kitchen Day 6: Tiling the Floor 
Kitchen Day 6: Tiling the Floor 
Kitchen Day 6: Tiling the Floor 
Kitchen Day 6: Tiling the Floor 
Kitchen Day 6: Tiling the Floor 
Kitchen Day 6: Tiling the Floor 
Kitchen Day 6: Tiling the Floor 
Kitchen Day 6: Tiling the Floor 
Kitchen Day 6: Tiling the Floor 
Kitchen Day 6: Tiling the Floor 
Kitchen Day 6: Tiling the Floor 
Kitchen Day 6: Tiling the Floor 
Kitchen Day 6: Tiling the Floor 
Kitchen Day 6: Tiling the Floor 
Kitchen Day 6: Tiling the Floor 
Kitchen Day 7: Grouting the Floor 
Kitchen Day 7: Grouting the Floor 
Kitchen Day 7: Grouting the Floor 
Kitchen Day 7: Grouting the Floor 
Kitchen Day 8: Wall paint 
Kitchen Day 8: Wall paint 
Kitchen Day 8: Wall paint 
Kitchen Day 8: Wall paint 
Kitchen Day 8: Wall paint 
Kitchen Day 9: Buffing up the floor tiles 
Kitchen Day 9: Buffing up the floor tiles 
Kitchen Day 9: Buffing up the floor tiles 
Kitchen Day 9: Buffing up the floor tiles 
Kitchen Day 9: Buffing up the floor tiles 
Kitchen Day 9: Buffing up the floor tiles 
Kitchen Day 9: Buffing up the floor tiles 
Kitchen Day 9: Buffing up the floor tiles 
Kitchen Day 9: Buffing up the floor tiles 
Kitchen Day 10: Now we really started to make progress, painting the boiler, fitting the shells for the units and making a good start on the plumbing – beautiful copper piping 
Kitchen Day 10: Now we really started to make progress, painting the boiler, fitting the shells for the units and making a good start on the plumbing – beautiful copper piping 
Kitchen Day 10: Now we really started to make progress, painting the boiler, fitting the shells for the units and making a good start on the plumbing – beautiful copper piping 
Kitchen Day 10: Now we really started to make progress, painting the boiler, fitting the shells for the units and making a good start on the plumbing – beautiful copper piping 
Kitchen Day 10: Now we really started to make progress, painting the boiler, fitting the shells for the units and making a good start on the plumbing 
Kitchen Day 10: Now we really started to make progress, painting the boiler, fitting the shells for the units and making a good start on the plumbing 
Kitchen Day 10: Now we really started to make progress, painting the boiler, fitting the shells for the units and making a good start on the plumbing 
Kitchen Day 10: Now we really started to make progress, painting the boiler, fitting the shells for the units and making a good start on the plumbing 
Kitchen Day 10: Now we really started to make progress, painting the boiler, fitting the shells for the units and making a good start on the plumbing 
Kitchen Day 10: Now we really started to make progress, painting the boiler, fitting the shells for the units and making a good start on the plumbing 
Kitchen Day 10: Now we really started to make progress, painting the boiler, fitting the shells for the units and making a good start on the plumbing 
Kitchen Day 10: Now we really started to make progress, painting the boiler, fitting the shells for the units and making a good start on the plumbing 
Kitchen Day 10: Now we really started to make progress, painting the boiler, fitting the shells for the units and making a good start on the plumbing 
Kitchen Day 10: Now we really started to make progress, painting the boiler, fitting the shells for the units and making a good start on the plumbing 
Kitchen Day 10: Now we really started to make progress, painting the boiler, fitting the shells for the units and making a good start on the plumbing 
Kitchen Day 10: Now we really started to make progress, painting the boiler, fitting the shells for the units and making a good start on the plumbing 
Kitchen Day 10: Now we really started to make progress, painting the boiler, fitting the shells for the units and making a good start on the plumbing 
Kitchen Day 10: Now we really started to make progress, painting the boiler, fitting the shells for the units and making a good start on the plumbing 
Kitchen Day 10: Now we really started to make progress, painting the boiler, fitting the shells for the units and making a good start on the plumbing 
Kitchen Day 10: Now we really started to make progress, painting the boiler, fitting the shells for the units and making a good start on the plumbing 
Kitchen Day 10: Now we really started to make progress, painting the boiler, fitting the shells for the units and making a good start on the plumbing 
Kitchen Day 10: Now we really started to make progress, painting the boiler, fitting the shells for the units and making a good start on the plumbing 
Kitchen Day 10: Now we really started to make progress, painting the boiler, fitting the shells for the units and making a good start on the plumbing 
Kitchen Day 11: Floor mopped again + cooker wired back in 🙂 
Kitchen Day 11: Floor mopped again + cooker wired back in 🙂 
Kitchen Day 12: Fitting the worktops 
Kitchen Day 12: Fitting the worktops 
Kitchen Day 12: Fitting the worktops 
Kitchen Day 12: Fitting the worktops 
Kitchen Day 12: Fitting the worktops 
Kitchen Day 13: Wall tiles 
Kitchen Day 13: Wall tiles 
Kitchen Day 13: Wall tiles 
Kitchen Day 13: Wall tiles 
Kitchen Day 13: Wall tiles 
Kitchen Day 13: Wall tiles 
Kitchen Day 13: Wall tiles 
Kitchen Day 14: Wall tiling complete and cooker hood attached 
Kitchen Day 14: Wall tiling complete and cooker hood attached 
Kitchen Day 14: Wall tiling complete and cooker hood attached 
Kitchen Day 14: Wall tiling complete and cooker hood attached 
Kitchen Day 14: Wall tiling complete and cooker hood attached 
Kitchen Day 15: Kitchen all barricaded off ready for the worktop treatment without the cats getting to it 
Kitchen Day 15: Kitchen all barricaded off ready for the worktop treatment without the cats getting to it 
Kitchen Day 15: Kitchen all barricaded off ready for the worktop treatment without the cats getting to it 
Kitchen Day 16: First coat of OSMO oil applied 
Kitchen Day 16: First coat of OSMO oil applied 
Kitchen Day 17: 2nd coat of OSMO Oil 
Kitchen Day 17: 2nd coat of OSMO Oil 
Kitchen Day 18: 3rd coat of OSMO oil 
Kitchen Day 19: Grouting wall tiles and fitting the sink 
Kitchen Day 19: Grouting wall tiles and fitting the sink 
Kitchen Day 19: Grouting wall tiles and fitting the sink 
Kitchen Day 19: Grouting wall tiles and fitting the sink 
Kitchen Day 19: Grouting wall tiles and fitting the sink 
Kitchen Day 19: Grouting wall tiles and fitting the sink 
Kitchen Day 19: Grouting wall tiles and fitting the sink 
Kitchen Day 19: Grouting wall tiles and fitting the sink 
Kitchen Day 19: Grouting wall tiles and fitting the sink 
Kitchen Day 20: Washing machine plumbed back in, tiles all cleaned up, plug sockets fitted 
Kitchen Day 20: Washing machine plumbed back in, tiles all cleaned up, plug sockets fitted 
Kitchen Day 20: Washing machine plumbed back in, tiles all cleaned up, plug sockets fitted 
Kitchen Day 20: Washing machine plumbed back in, tiles all cleaned up, plug sockets fitted 
Kitchen Day 21: Shelves up, sign up, cupboard doors fitted, tap fitted – Almost ready for The Big Reveal! 
Kitchen Day 21: Shelves up, sign up, cupboard doors fitted, tap fitted – Almost ready for The Big Reveal! 
Kitchen Day 21: Shelves up, sign up, cupboard doors fitted, tap fitted – Almost ready for The Big Reveal! 
Kitchen Day 21: Shelves up, sign up, cupboard doors fitted, tap fitted – Almost ready for The Big Reveal! 
Kitchen Day 21: Shelves up, sign up, cupboard doors fitted, tap fitted – Almost ready for The Big Reveal! 
Kitchen Day 21: Shelves up, sign up, cupboard doors fitted, tap fitted – Almost ready for The Big Reveal! 
Kitchen Day 21: Shelves up, sign up, cupboard doors fitted, tap fitted – Almost ready for The Big Reveal! 
Kitchen Day 21: Shelves up, sign up, cupboard doors fitted, tap fitted – Almost ready for The Big Reveal! 
Kitchen Day 21: Shelves up, sign up, cupboard doors fitted, tap fitted – Almost ready for The Big Reveal!
Lessons Learnt Along the way:
- It’s well worth paying your plasterer a little extra to paint your walls, it should be much more cost-effective than getting a separate painter and leaving a perfect finish, no stress or fuss 🙂
- If you have the option – move out when you get your kitchen done! Especially if you have kids (you brave brave refurbishers with kids in tow). We were camping in our own home for weeks, with no heating and only our electric shower for hot water, no cooker and no washing machine. Whilst I now sit back and say it was all worth it – I would not choose to do it again without moving out!
- Expect everything to take longer and cost more than you thought – it is always the case that even with the best-laid plans, things never turn out the way you expect (in fact this is a good life lesson as much as an observation on our kitchen refurb!)
- Paint the walls the same colour as the ceiling, this is the first time I have tried this and I have to say I love the effect
- Research finishes: We almost fell down by using yacht varnish on the worktops – but then my hubby did a lot of research on forums (he’s good at that) and found OSMO Oil – whilst it took a week to apply the multiple coats required, both of us couldn’t be happier with the result
- Two-tone all the way – I’m so glad we went with two-tone – I love how it makes the kitchen a bit more individual
- Go with classic styles which last…It’s often the case with fitted kitchens that trends come and go, I’d highly recommend if you want it to last, pick adaptable quality finishes and timeless shapes like a shaker, which you can always change the colour of the doors with the trends if you so wish but the shape and function will not go out of style (shaker has been about for over 100 years and is still going strong, the same goes for my tile choices, both timeless classics)
- If you are going to use a mix of second-hand and new cabinets, as we did, match your handles! – it’s amazing how effective this is in bringing it all together and making them look like the same age
- Use every nook and cranny – every little gap gives you an opportunity for storage, make sure you use every part – we got our handyman to use the scraps to make up a cuddy for our trays and boards and it’s fantastic – uses up the gap between the washing machine and the under sink cupboard and fits all of our trays and boards neat and accessible :D. Another example is the gap under the boiler which I have used for cookery books straight on the worktop using inexpensive plain metal bookends to keep everything neat.
- Storage Jars – well it had to be said…haha…I store everything in jars of all shapes and sizes, it keeps things for so much longer and it is so pretty and protects from mice (if you ever had a problem you’ll know) – I love looking out for new and interesting ones in charity shops, especially in the kitchen they are such a lovely addition and now the kitchen is done at last all my jars are in pride of place 🙂
If you’re feeling inspired to plan your own kitchen transformation, I’ve got you covered! Check out my blog post Planning Your Perfect Kitchen Renovation filled with valuable tips and creative ideas to make your renovation project a breeze. If you want to deep-dive into the best tips and tricks for the perfect kitchen renovation, I suggest 20 Tips for How to Design a Kitchen Where You’ll Love to Cook. Enjoy 🥰
Kitchen renovations are rough this came out so adorable though!
Thank you Kristin, have you done your kitchen too?
Wow! Looks amazing. Nice job!
Thank you Cindy ??
What an improvement! Great job on all your hard work – worth it!
Aww wow it looks lovely – you’ve made a fantastic use of the space available and I’m sure you’re going to have a great time cooking there!xx
wow that is a big change, awesome pictures!
I must say I love your organization and tools!!!
well done on such an amazing reno!!!
Thank you ?
Wow, what an incredible amount of work! The end result is beautiful
Thank you ?
Your comments mean a lot ??
Oh wow! What an amazing transformation! I love it!
Your new kitchen looks awesome! Happy birthday, when was it?
Thank you ? on both accounts, my birthday was at the end of September x
It must be the sweet tooth because I forgot about your kitchen the moment I saw cake! Lovely result with the kitchen though.
Thank you. The cake was delicious ?
Wow, I love the remodel and that blue cabinet is adorable. I have an all white kitchen and want to replace the gray countertops and white floors. A white kitchen looks beautiful when it’s clean but when I live with 4 boys and am a clumsy cook, it can be hard to keep clean. Thanks for sharing your reno, I dream of getting it done but know it will be tough!
Thanks, so glad you like it. Ya I know what you mean about white interiors, I always admire and pin them, but they’re very hard to keep fresh and clean in reality. ? ?
It’s beautiful. I love it. All your personal touches are very special.
Thanks Carol, really appreciate your comments. ? ?
Love all the upgrades you made! A beautiful space to cook in…I’d just start sleeping in there. 🙂
I was tempted to ?, my hubby would regularly find me just standing in it looking at all the different bits the first few weeks after getting it done ??
I love it! So beautiful! I can’t imagine the patience it must take for all of that to be completed! But well worth it I am sure! LifeAsLex
It did indeed. But yes it was worth it, thank you for your lovely comment ??
Your kitchen looks great. Kudos to you for finishing up your renovations.
LiveLifeWell,
Allison Jones
Thank you ? ?
wow what a difference! I love the cabinet color & it all looks fab!
Thank you ? ?
Your kitchen reno turned out amazing. I love the warmth and love that it oozes with. Enjoy making wonderful memories in your new kitchen 🙂
Thank you so much, I’m so glad that that’s the impression it gives as that is indeed the reality too. Your comments mean a lot thank you ? ?
You did such a great job! I love the colors and the counter tops!
? thank you
i love colored cabinets on top. i think we are going to fix ours up a bit after the holidays to get ready to sell.
Oh god luck, it’s definitely a now coat effective way to do it ?
Congrats on the new kitchen – it looks great! My husband wants to remodel our kitchen, but we just don’t have the money yet. Maybe next year!
It is an investment of both time and money, but I promise it’ll be worth it when it’s done ? good luck
A beautiful transformation! Looks great and enjoy the new kitchen
Thank you ?
Your kitchen looks great. Looks like a lot of hard work but it paid off!!
Thank you ?
I love how your kitchen turned out. It’s so neat. I like your spice rack.
Thanks, the spice rack was just from Lidl, but fits the space just perfectly ?
Wow! What a renovation! I can’t wait until I have room in a kitchen for my Kitchen Aid to be out all year round.
It is so nice too, love my kitchenaid, it’s such a design classic and is such a good quality mixer too. ?
Wow, what a long road! That is a LOT of work, but it’s so gorgeous now! I love all of the little signs you have hanging everywhere. It’s so inviting!
Thanks Trish ?
I absolutely love how homey and full of personality your kitchen is. I love that books figure into the countertop. The kitchen dresser is one of my favorite features. I’m so jealous.
Thank you so much for your lovely comments ?
Wow this was a serious project, but it came out really great! I love how you have the sink area with the rubber gloves holder and the little caddy for the cleaning utensils..I just got some ideas to update my own kitchen. Thanks for sharing! 🙂
My pleasure. Glad to have inspired. Good luck with your redo ?☺
I love the new look! It is so charming and cute with so much character as well!
Thank you ?